


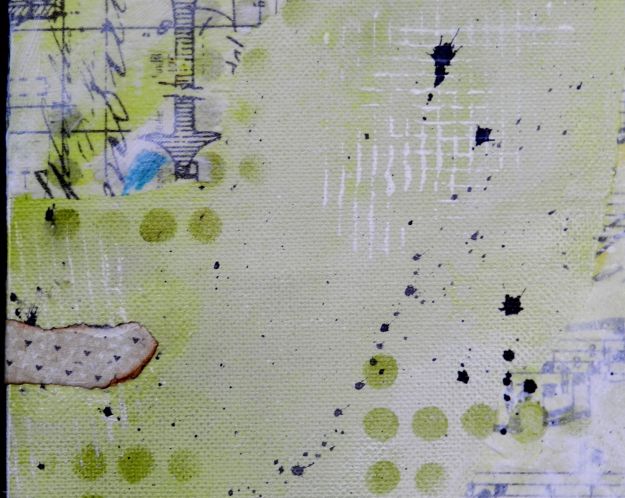
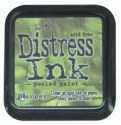
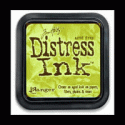
Hey, it's Bonnie here today. I feel like there should be trumpets or a drumroll or something since this is my first post on the eclectic Paperie blog! I had so many ideas but finally settled on creating an altered canvas and throwing everything on it but the kitchen sink :) I started the background by applying Shabby Shutters, Peeled Paint, and Scattered Straw Distress inks all over the canvas. Over the top of that, I sprayed water using a Mini Mister and then Fresh Lime Dylusions ink. The Dylusions interacted with the Distress ink and the water and it all blended and dripped and flowed...so fun! Mighty bright though which was not quite what I wanted for this piece.

Torn Melange Tissue Wrap was gel mediumed over the right side and across the bottom. I love the sturdiness of this tissue paper as well as the cool graphics. Gesso was applied with a wet finger to knock back the colour and tone down the text on the tissue wrap. Much better for this project!

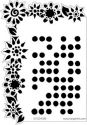
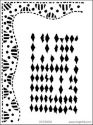
Avocado Fresco paint and gesso were randomly sponged through Dylusions Dots and Flowers stencil and also Diamond of a Border using a piece of cut-n-dry foam. This foam gives much more control of the intensity of the sponging and also causes less seepage underneath.

Dylusions Black Marble spray ink was loaded on a round brush and flicked across the canvas. It was allowed to air dry without being paper towelled off. Torn papers from the Authentique Peaceful 6x6 bundle were inked with Vintage Photo Distress ink and gel mediumed in two areas. The criss cross pattern seen below was made by spreading gesso over the bottom of a child's flip flop and then stamping it randomly on the canvas. It's a fun way to add texture.
With the background mostly completed, it was time to add the ephemera and personality to the canvas. Starting at the top left, a saying found on Bo Bunny Et Cetera paper was cut out, distressed, crumpled, and inked. Part of a scalloped sticker from the same collection created a border above it. A heart was handcut from drywall tape and adhered overlapping the sentiment piece and the Bingo card from the same paper. The word real was sitting on my desk from another project so on it went.

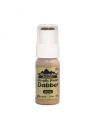
The Bingo card was topped with a Maya Road chipboard crown which had been painted gold with an Adirondack metallic dabber. A rhinestone covered the diamond shaped opening in the crown, A bracket was cut from text paper and matted in black to overlap the bingo card and the embossed circle beside it. By overlapping like that, it ties the pieces together and creates better flow. Beneath the card is a gorgeous Maya Road Vintage Edge Mum with an Idea-ology accoutrement button in the center. Handcut leaves and mulberry flowers with snap centers completed the cluster.

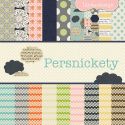
The dressform is a Maya Road chipboard piece. It was covered with more of the Authentique Peaceful paper. A punched double scallop of the same paper(it's double sided) was layered over lace at the hem. Another scrap made the belt which, like the neckline, was edged with Idea-ology bead chain. A butterfly traced from a stencil was cut from Lily Bee Design Persnickety paper, was given a clock hand body, and a chipboard crown. Several charms were also added as well as words cut from the paper collections

The top of the dress form was sprayed with Dylusions Melted Chocolate ink and doodled to make woodgrain. The eye stamp is from Wendy Vecchi's An Eye for Art set coloured with Prismacolor pencils. The black ribbon is a scrap from Graphic 45 and the words are from the Authentique paper. The chipboard flourish and circle are from the Bo Bunny Et Cetera collection.

In order to make the heart stand out, white cardstock was sprayed with Dylusions Bubblegum Pink, Lemon Zest, and Squeezed Orange and adhered behind the punched out heart. A believe bead was Glossy Accented to the center. The embossed script circle was an atc background that didn't get used. It had been highlighted with metallic gold paint. Again that punched circle ties the dress to the bingo card via the bracket.

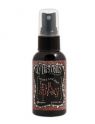
The canvas was hit with Vintage Photo Distress ink here and there and around the edges to frame the piece. Doodling was done with a Micron pen and a metal photo corner was attached to the upper right corner to balance out the flower in the bottom left corner. Lots of details and techniques but that's what makes altering canvases so fun. No rules and usually no plan :)
Thanks so much for visiting today and reading this to the end if you managed to. To find any of the products used, click on the thumbnails below and magically, you will arrive at the correct place in the eP store. Kim has so many products that are awesome for mixed media that you, too, can "imagine the possibilities" :)
Bonnie
The following items were used in the creation of this project:
 |  |  |  |  |
 |  |  |  | |
 |  |  |  |  |
 |  |

10 comments:
Wow, from lime green to that finished product! I love it, thanks for the step by step. I really need to take a step and try this.
Wow, this is great. Love the color, love all the details!! Fantastic!!
An amazing finished canvas, so much to see and so much texture - just adore it.
Fabulous, Bonnie! I'm so in love with that tissue paper on the background...seriously one of my favorite products! Love all of this elements; they all work wonderfully together!
Bonnie,
I'm in awe of the works of art posted on this site and yours is as beautiful as they come. Can't wait for your next post.
Do doodoodooododo...that was the trumpets Bonnie ... what a great background,love it!!
xox
Wow - this is an amazing canvas, Bonnie! The colours are stunning, and the tissue background rocks!! Great step by step too, thank you!
Alison xx
Super duper cute!!!
Great mix of elements for one fun piece of art :-)
LOVE your canvas!!!! Love your step by step process too! Amazing work!!!
Loving all that's going on in this canvas. Such fun details. Great job!
Post a Comment