Photobucket Photobucket Photobucket Photobucket Photobucket Photobucket

Saturday, August 31, 2013

Gelli Prints, Stencils and a Lady in Red

Hi everyone and a Happy Labor Day weekend (here in the U.S. - 3 day weekend - yay!)  Micki here to share my Gelli Plate play using some old college ruled 3 hole punched regular papers, a kitchen tool and other odds and ends.  AND.......Julie Fei-Fan Balzer's new 12 x 12 Profile Stencil from the Crafter's Workshop.

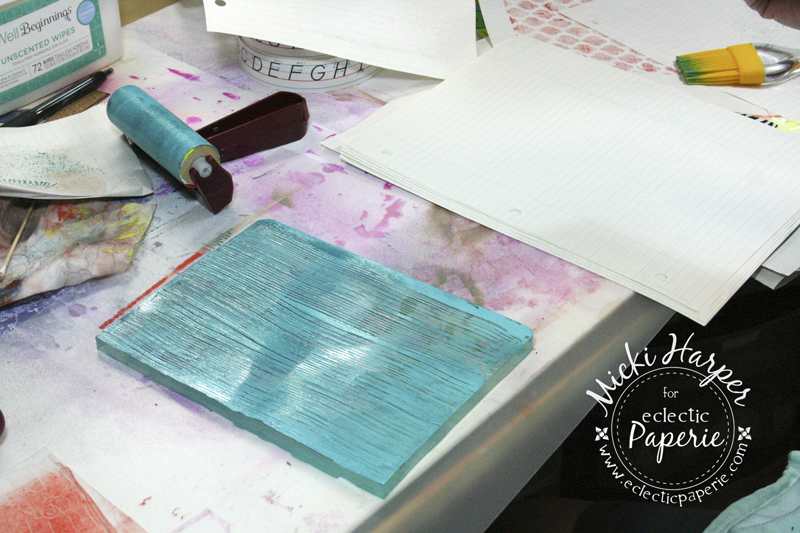
I consider myself somewhat color challenged.  I tend to go with the same color palette so I tried to play with some other colors and color combinations as well.  To get me started, I had to go with teal!
I squirted out a small amount of paint right onto the Gelli Plate, then rolling the brayer through it, in all directions, until I had an even coat of paint on the plate.  Then I grabbed the $1 Silicone Kitchen Baster tool and just ran it across the plate.  The first picture below almost looks like there's hardly any paint on it, but the first and second prints turned out pretty cool, I think.
The print on the upper left is the first print and the one in the lower right hand corner is the second print.


Kind of cool, don't you think?
Next I added some greens to the plate, distributing the paint as before with my brayer.  This time I used bubble wrap to pull some paint off and create the negative bubbles:

Now I grabbed some heart doilies which were obtained at a yard sale.  I laid these on the plate first, then adding paint:
 Again, using my brayer, rolling it in all directions to smooth out the paint, laid the paper on the plate and got the first print:


 When I pulled the paper, the doilies came off too.  The paint acted like a gluing agent, literally embedding them on to the paper.  LOVE it!!!!  Next came the second print:

I actually love the second prints or "ghost prints" as much as the first prints :-). Since I had the red paint out, I added some orange and Pink Paislee's She Art stencil.


 First print on bottom, ghost print on top:
Really liking this color combo, I got out Studio 490's new Lovely Large Flower stencil and TCW's Balzer Days of the Week Bits Mask.  This time I used white card stock for my first print:
I used the notebook paper for the second print:

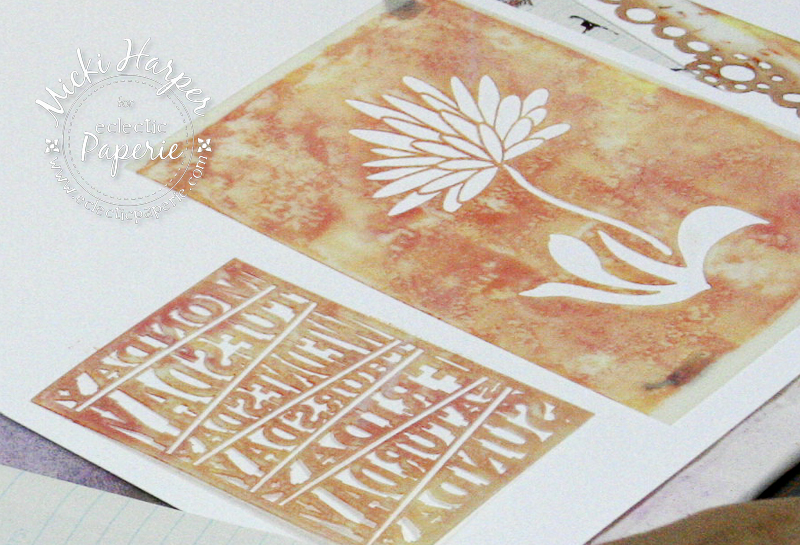
In the next picture,  I grabbed a baby wipe and a sheet of notebook paper and cleaned the stencils.  I laid the stencils with the paint smeared side facing up and wiped/rubbed the baby wipe across and this is the result.  I absolutely LOVE that effect.Remembering to snap a picture.  This is on white card stock.

Here are a couple more examples on the notebook paper:


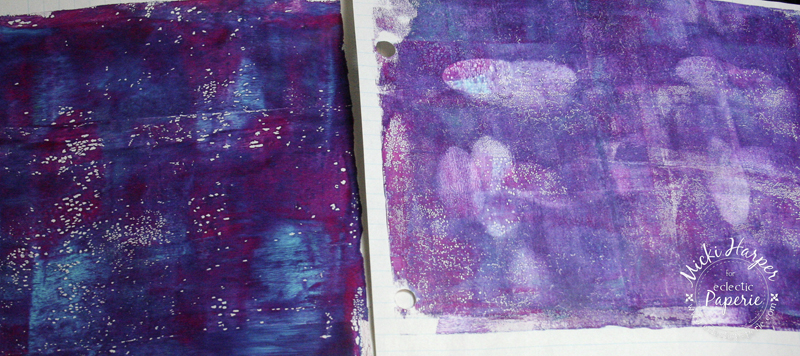
And I love using these "cleaning" papers to layer prints:
I also love the look of laying my "cleaning":

The next couple of pictures are just different color combos - don't know why I have such a hard time with color combos!  On the print below, I used an empty Duct Tape roll, stamping it onto the painted gelli plate, then pulling a print:
I also used the end of my paint brush to try doodling: 

And sometimes, just pulling a print without any stencils, marks or stamps is pretty cool too.  Here I had just added dollops of white paint to the plate:
 Print on the left is the second print:
The print on the left is the first print.  See those white dots?  I was running out of work space and was moving stuff around (or more likely, looking for something) and the paint started to dry.  However, I think it's a pretty neat "texture" effect:

Playing with the Gelli Plate is a lot of fun.  There really is no wrong way and it's a great way to get all your paints out and just play.  One advice, lots of space.  Next time I think I'll take over the dinning room so that I can spread all the prints out.  And then of course, comes the hard part, choosing which print to use first.
I decided to go with the red/orange "She Art" stencil print and the heart doily print.  I tore the prints into sections and glued them to a sheet from my Strathmore Mixed Media pad, using gel medium.
I added more layers with Dylusions Ink Sprays, followed by using up the rest of that red paint that was on my Non-Stick Craft Sheet using my craft scraper to distribute.
 I also added some White Linen Ink Spray, using a brush to blend it in a bit. Once dry, I layed the 12 x 12 Profile Stencil on top and using my foam blending tool, dabbed black gesso through the openings. After I lifted the stencil, I used a brush to "connect" the lines.  Julie has a great video using her Profile and 3/4 Profile stencils, which I was watching as I was doing the "connecting".
 Next it was adding white gesso for the highlights - again, have such a hard time with highlights and shadows.  I think it's because I tend to get carried away.
 Fixed the eye, which was giving me a really, really hard time, added shadows and because I wanted the face to stand out from the background (I should have thought it out before I started), I ended up painting the background red.  Although it's hard to see, the doilies and prints do still show through that red paint.


And because I am notorious for "fiddling" with a project to a point of ruining it, I decided that I would stop here.  Because I used lots of wet media, the sheet does tend to warp a little but I just put it under my glass cutting mat and that straightened it out just fine.  And here she is framed:


I hope you enjoyed my journey of playing with color combos, paints, stencils and the Gelli Plate.  I had one of those "slap your forehead" moment watching Michelle's video for Inspiration Wednesday over at Donna Downey's blog.  She used Embossing Folders...... duh, why didn't I think of that?  Can't wait to play with those on the gelli plate.  As for those awesome Profile Stencils, they are awesome. Perfect to quickly create a face.  :-)


Supplies used for my Gelli Plate fun:


Supplies used for Lady in Red: