your guest designer for June here at eclectic Paperie. I'm so very happy and excited to share some projects with you this month. For my first one a chose to make a pocket card... mostly because I just can't seem to break away from creating them.

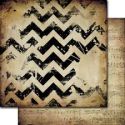
I'm using 7 Dots Studio's
Nature Walk collection papers. I've been wanting to try these for some time and am thrilled to tell you that they are gorgeous papers and a very high quality.

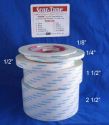
the Songbird paper to 5 1/2" and leaving the width at the full 12". I scored at 2" and 7 1/2". I used 1/8" Scor Tape, folded over the 2" flap first, then the 4 1/2" one forming the pocket (no tape on that left edge... just the top and bottom.)

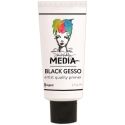
added next. Using a Tim Holtz Burlap Laying Stencil, I put on a bit of black gesso and when dry, I sponged on a little Walnut Stain Distress Ink using Crafters Workshop's Tile Texture stencil.
The next layer is a square
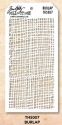
of stretched out cheese cloth... then a stack of papers tied with Tim's Jute String. I used the Alteration's Torn Notebook On The Edge die here. I cut one of the ATC size papers from Tim's Wallflower paper pad and backed it with the Gray Day paper from the N W collection. It goes atop the paper stack using 3-D foam tape.

flowers. I cut 10 of the smallest one of the Alteration's Tattered Florals and 4 of the Movers & Shapers Mini Tattered Florals. I inked the edges with the Walnut Stain DI and shaped the petals using a thick foam pad and the end of a paint brush.

Alteration's Spring Greenery using a pretty green pattered paper from the Wallflower pad, did some inking and a bit of shaping with my long pointed tweezers. I assembled the flowers and foliage, then made a tag for the pocket.
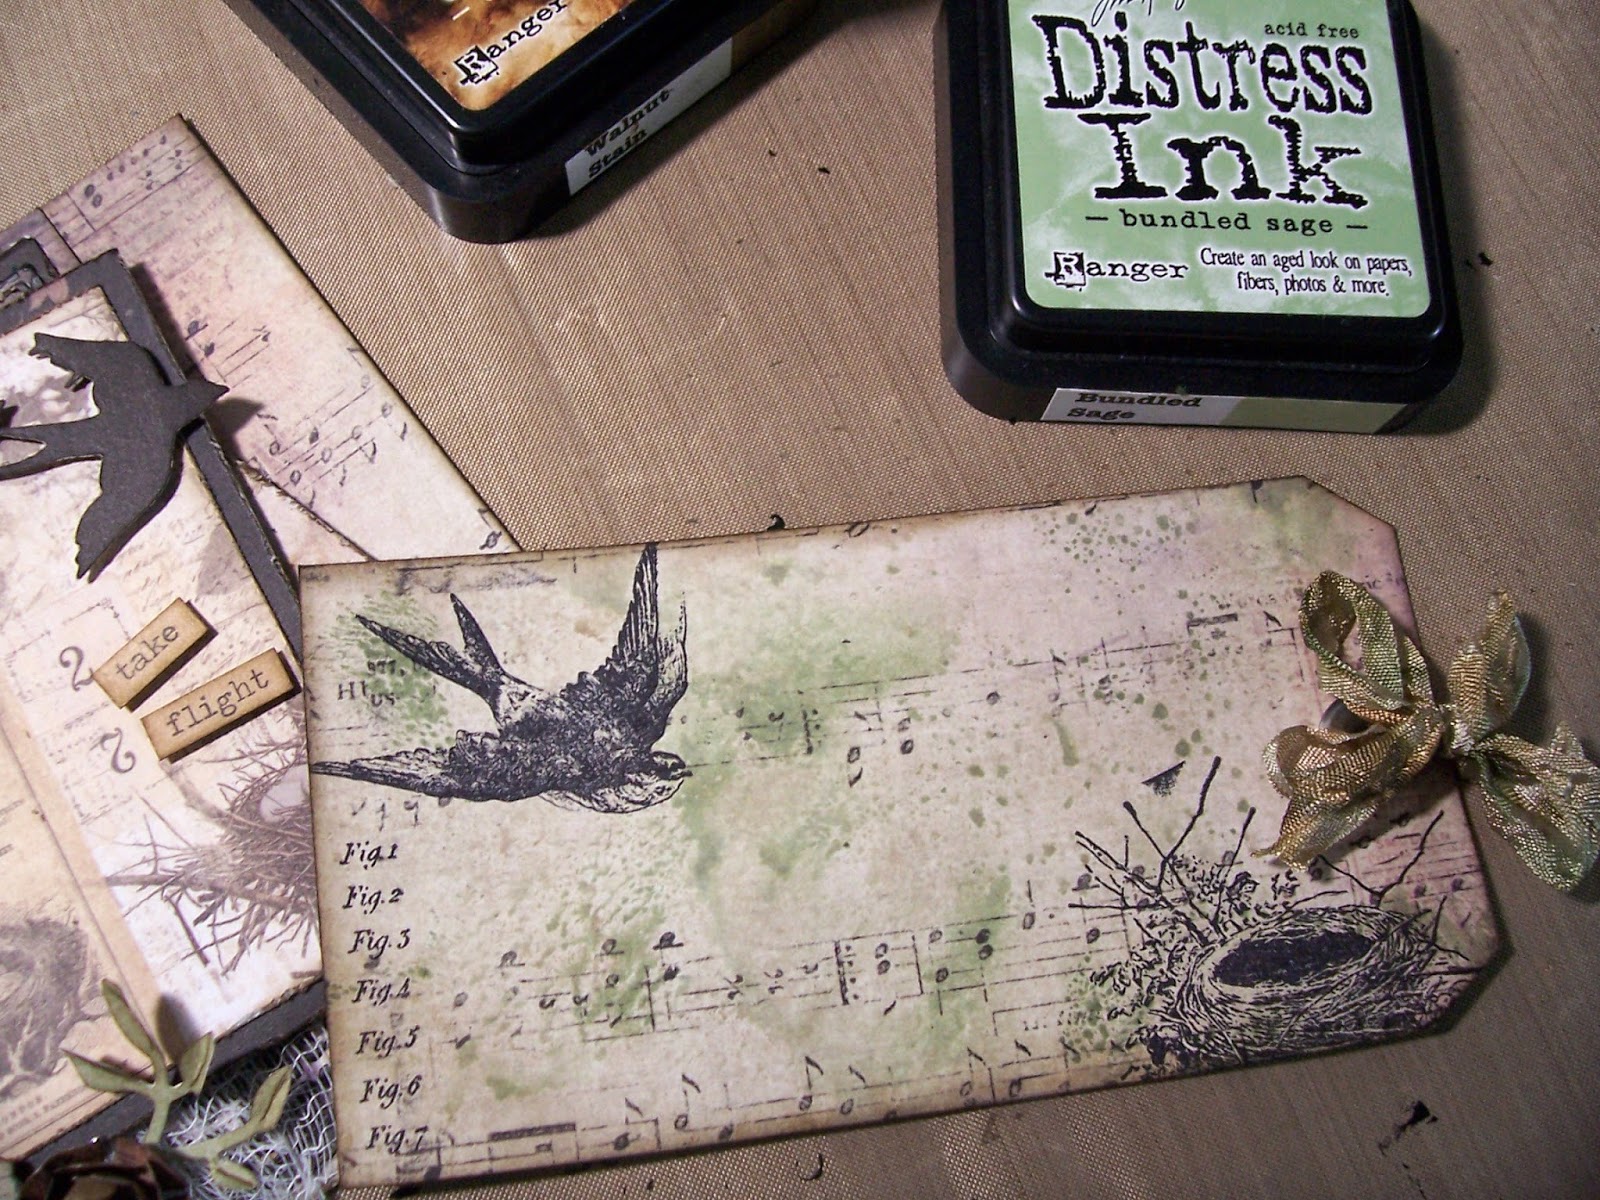
Songbird N W sheet, inked the edges and blotted the tag in some Bundled Sage DI on my craft mat that I had misted with water. Dried it with my Heat Tool and did some stamping using the TH Nature Walk stamp set and Jet Black Archival Ink. I cut off a section of Tim's Crinkled ribbon and colored it with Walnut Stain and Bundled Sage DI. I added a wide silver eyelet to the tag and tied on a double bow with the ribbon.
flower arrangement, I decided a feather would be a nice added touch. I also put on a couple Chit Chat stickers popped-up with the 3-D foam...
and a string of birds (Tim's Birds in Flight.)
this card and am definitely lovin' these Tim Holtz products and the 7 Dots Studio papers. A perfect combination!
Thank you to Kim and Bonnie
for inviting me to share some projects with you this month. I so appreciate the opportunity.
Thanks for stopping by!
Linda