Photobucket Photobucket Photobucket Photobucket Photobucket Photobucket
Showing posts with label Viva Colour. Show all posts

Thursday, February 13, 2014

Smile

With Valentine in just a few days, I needed to create some a card for my Love!  Mary-Ann here today, breaking out some Fancy Pants paper, watercolors, die cuts, stamps, twine, pearl pen and stickles!  For the base of my card, I used watercolor paper.  I cut it to the size I wanted to fit within my Fancy Pants Glassine Bag.  Since I am not mailing this gem, I can do what I want!  I dug out my watercolors and painted to my liking.  I chose only two colors.  You can use any type of watercolor, gelato, or colored pencils that you have on hand.  I layered my papers, backed my tag with foam and cut my dies.  I just love Wplus9 Heart Stackers.  Once my papers were layered, I added Ice White pearl drops from my pearl pen and Cotton Candy Stickles.


I then chose the colors for my envelope staying with the same color combo as my card.  


This is simple and quick.  I hope you did out your stash and create a thoughtful card for the loves in your life.


Thursday, January 23, 2014

Hope Canvas

Hello friends! Hope you are having a fantastic day, today it's my turn, Giovana here, to share a project with you. I decided to create a fun and simple "yes, believe me" canvas project. I am joining the eP Team Picks Challenge ~ HOPE. My canvas started as a freedom and hope, I just wish I could have wings and fly to Peru, I HOPE I can go there soon and visit my family, nothing like a warm hug from the ones you love.

Here are the details (Sorry, I forgot to take few pictures)
 
  •  Paint all the circles with Ginger Peach Twinkling H2O, set aside to dry, it will take few minutes. (Ohhh, I love this color!)
 
 
  • Add your circles, leaves, stems to your canvas with seal glue. Take your Faber Castell Black Big Brush pen and define all edges, then add a button to each center flower, Iwent ahead and wrote "hope" with my black marker.
 
 
This is final product!  I added Gold 3D Stamp Paint to some of the borders, I used my finger since I wanted a rough look. 

 
I HOPE you like my canvas and get inspired and come play with our eP Team Picks Challenge ~ HOPE.  You can win a $15 gift certificate to the eP store!!!
 

Thursday, October 24, 2013

eTeam Picks Challenge - Water coloring


Hello everyone, Giovana here today and I am so excited to be hosting the eTeam Picks Challenge this month. 

So my challenge for you this month is "Water coloring" easy right? {wink, wink}

I love water coloring, it's like a relax therapy for me, seriously!! So talking about a relax therapy, I inked a brand new image by Catherine Scanlon Designs "Joy".

Here are the details :
  • Start with a piece of Distress Watercolor Cardstock, stamp the image with Jet Black Archival Ink, then mist the cardstock with water and start coloring it Distress Inks. I just add some ink to an acrylic block and take the ink with a pen brush.
  • For the frame I used Tumbled Glass; for the flowers I used Worn Lipstick, Victorian Velvet, Barn Door; for the leaves I used Peeled Paint and Forest Moss; for the center I used Antique Linen and Vintage Photo. I set aside to let it dry.
  • While image is air drying, create the background. For this mix Embossing paste and Amber Gold paint, add a stencil to card front and add the mix. Set aside to dry or you can use to heat tool. (I prefer to air dry)

  • When paste/paint is dried, add a piece of blue cardstock to your card front, tie Denim twine.
  • Stamp sentiment on dried image in Coffee Archival Ink, the sentiment is from Strictly Sentiment by Wplus9.
  • Add image to front of card with foam adhesive. 


Products used:


Now it`s over to you . . . go on, go get your crafty hat on and have some fun.

  The eTeam Picks Challenge is held on the third Thursday of each month and each challenge is an opportunity for you to be inspired by one of our eTeam’s creations and to be entered into our challenge prize drawing!

The eTeam Picks Challenge is all about inspiration and having fun!  During each challenge one of the eTeam members will share a topic, word, technique, sketch, or product that will become the foundation for your creation.  This challenge is all about mixing it up and just enjoying the creative process of feel free to share a journal page, card, scrapbook project, mini album….Anything goes!  We want to see your work and hear about your inspiration!   
A
ll of those who play along with our challenge will be entered into a prize drawing for a $15.00 gift certificate to the eclectic Paperie store.

So grab your supplies and play along! 

 Here are a few things to keep in mind for this challenge…

-You do not have to use products sold in the eP store…but we do love it when you do!

-Share a direct link to your creation, not just your blog, using the Linky Tools feature at the end of this post.  If, for any reason, the Linky Tools doesn’t cooperate, please add a link in the Comments section of the blog.

-When uploading to any online galleries, please use any of the following keywords; eP, eclectic Paperie or eTeam Pick Challenge.  Link your creations to the eP blog.

-If you’d like to be considered as one of our featured projects and be entered into our prize drawing, please be sure to add your link no later than 6pm EST on Thursday  November 6th.

Friday, October 4, 2013

Love Christmas Angel

Hello!! Giovana here with my very first post as an ep Design Team Member!! I am so very excited and I hope you like the project I have for you today. The wonderful ladies have been posting Halloween projects, so I decided to make a Christmas card this time around ;) Maybe you can start your Christmas projects using this wonderful image.
So, I prepared a picture tutorial for you, so, let's get started:

Step 1: Stamp Christmas Angel image on a piece of Ivory Cardstock in Gold Ink.

Step 2: Die-cut a Watercolor Cardstock piece using Rectangle dies.

Step 3: Paint all sides of Watercolor paper with Viva Décor Amber Gold Paint. Love the antique look you get.

Step 4: Cut another piece of Watercolor cardstock (dimensions: 5" x 3.75"), position the Mini Chicken wire reverse stencil, add Viva Colour 3D Stamp Paint Gold

Step 5: Cut "Love" rub-on from Remmant Rubs idea-ology and adhere it to panel.

Step 6: Ink all edges of your panel with Walnut stain Distress Ink.

Step 7:  Mount image on die-cut gold piece (step 3) Tie-on ribbon and add panel to card base. Add image to card. Make a triple bow, add hemp and a Trinket pin.


This is the final shot.

I hope you like it!!
I would love to read your comments.
Have a fantastic day.

Wednesday, May 8, 2013

Hope Box....Lynne Forsythe

Howdy Peeps.......Lynne Forsythe here!!
This months Guest Designers.

What a week it has been.....
and I have to admit....this week
my "get up and go".....
got up and LEFT!

I ACTUALLY had to force myself
to create.....YES ME!

So....I just jumped in....
with no plan and NO IDEA
what I was going to create!!

I pulled out the 
and just BEGAN!

I randomly colored on the box with the Gelatos...


I then spritzed the "colored" box with water.


With the Stipple brush
I swooshed the water around,
blending the colors.


I then pulled out a package of
Christy Tomlinson's ~ Coffee Filter Words,
and tore a sheet into strips.
I dipped my paintbrush into
 a jug of Claudine Hellmuth's ~ Multi Medium ~ Matte,
and applied it to the box....randomly!!
I squinshed up the torn pieces in the
Multi Medium.


When dry, I then applied a layer of
Viva Colour ~ Crackle Base Coat for Porous Surfaces,
to the blank areas.
When dry I applied a liberal coat of
Viva Colour ~ Black Crackle Paint.
(these supplies will be arriving in the
epShop SOON!!)


I love how the Gelatos show through the cracks!!

(Now this is when the creative juices kicked in
and I forgot to keep taking pictures......SORRY!)

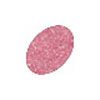
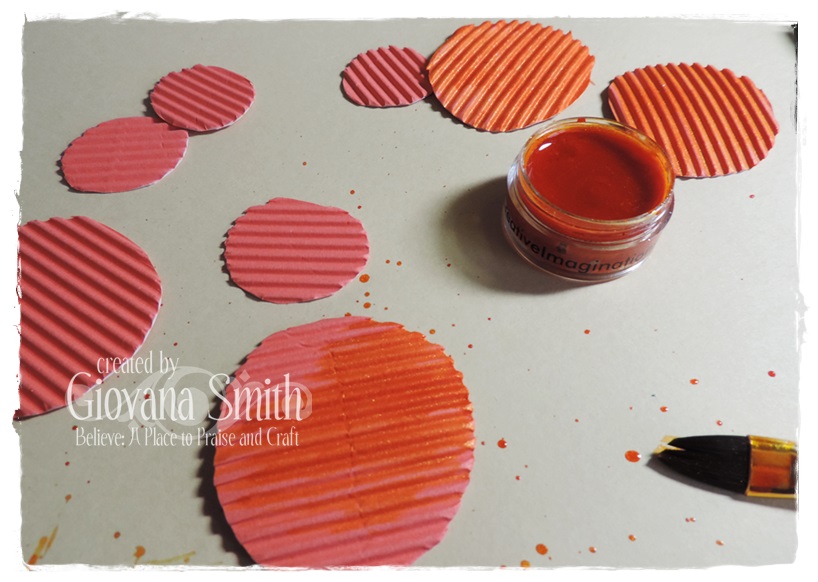
I sliced off a bit of the "Aqua Dolce" Gelato
and mixed it with a puddle of
Claudine Hellmuth's ~ Gesso.
I did have to spritz the mixture with water occasionally.

I then applied the mixture through Dyan's 
Dylusions Stencil ~ Checquered Dots
with the Stipple Brush.


Now if you know anything about my style....
you know there
HAS TO BE a FLOWER involved somewhere!!


I pulled out a package of CMC ~ Darjeeling flowers,
a bottle of Butternut Shimmering Mist,
and sliced of another chunk of the
"Aqua Dolcue" Gelato
which I spritzed with water on my Craft Mat.
I also spritzed a puddle of the Butternut Shimmering Mist
on my Craft Mat.
I then spritzed the flower with water
and let the coloring begin!!


I cut different size leaves from a piece of
Patterned Paper from the
Bo~Bunny Mama~razzi 6x6 paper pad.

I rubbed some Forest Moss Distress Ink on my craft mat,
spritzed it with the mist.
I then painted the mixture onto the leaves.
I then dabbed on some
Shabby Shutters ~ Distress Stickles.


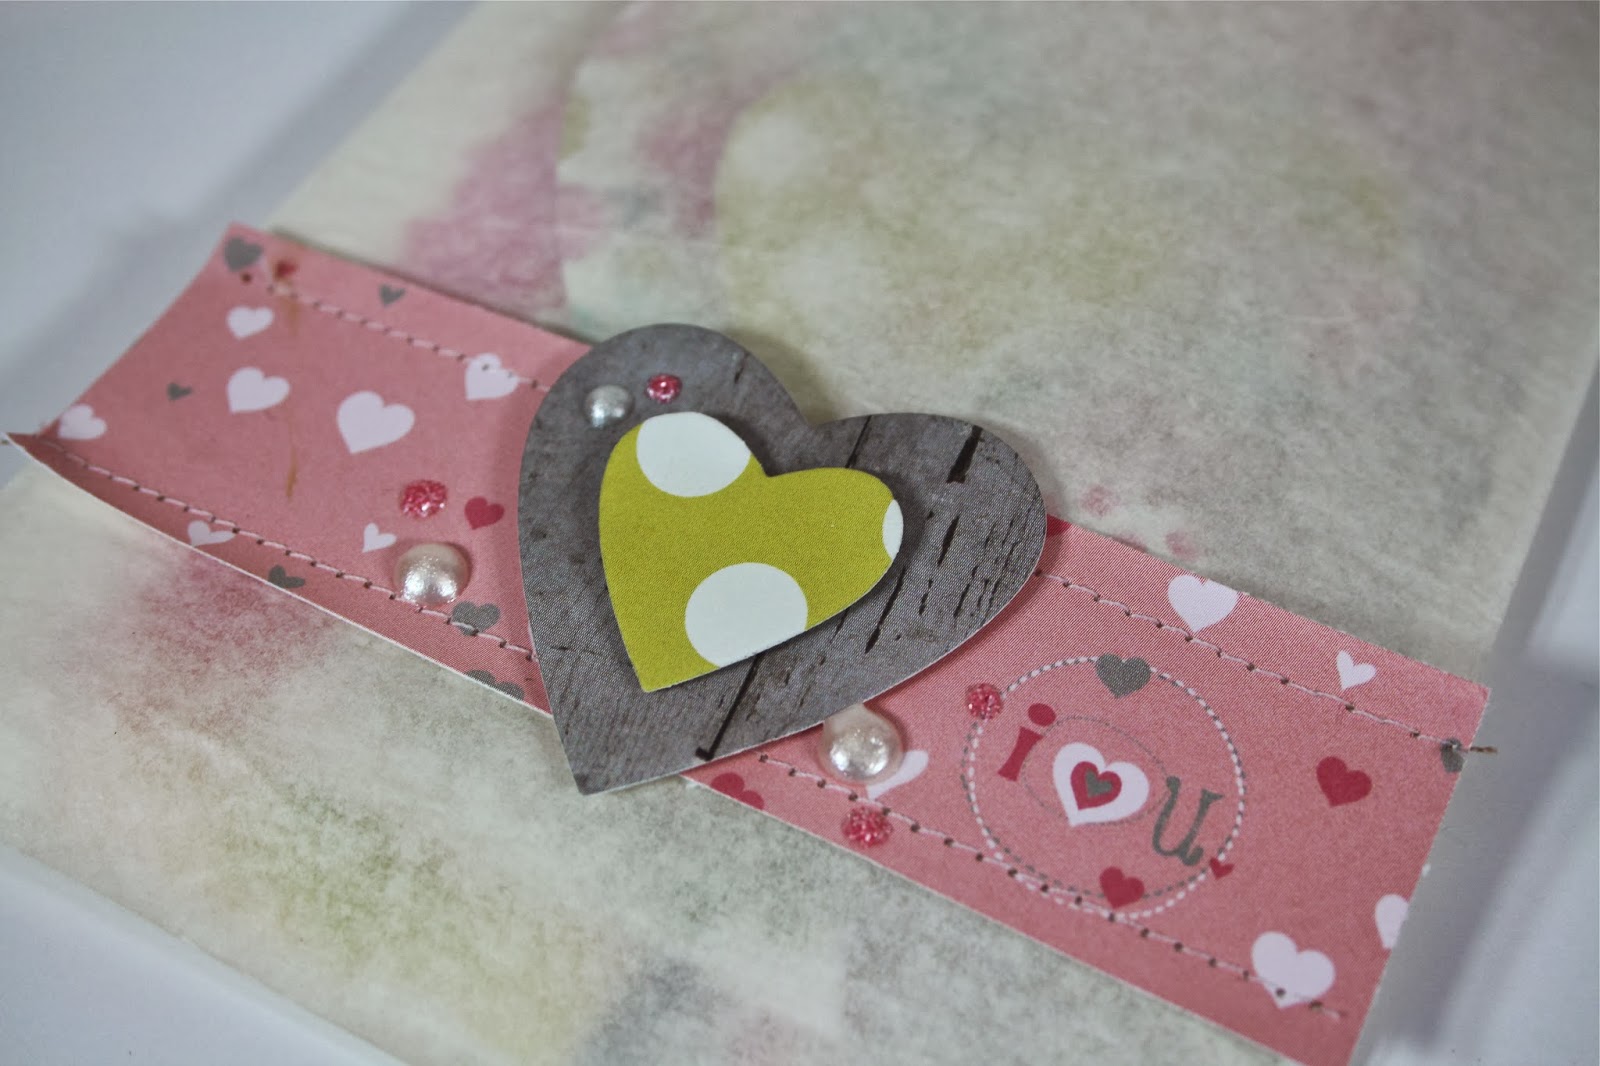
Here is the end result of my
"unmotivated" creative time!!

Hope you've enjoyed my little project!!
Do come back next week for
another creation!!