Hello everyone, Alison here. I'm sharing a simple tutorial with you today, just to take you through how I built up the look of my
coaster mini-book. We know them as beermats here in the UK, but I'm working in translation, so "coasters" it is!
Really, this little book was intended to showcase the amazing Donna Downey stamps from Unity - both the hedgerow flowers and the fabulous sentiment sets.
I love these stamps and find them so inspiring, as well as very versatile.
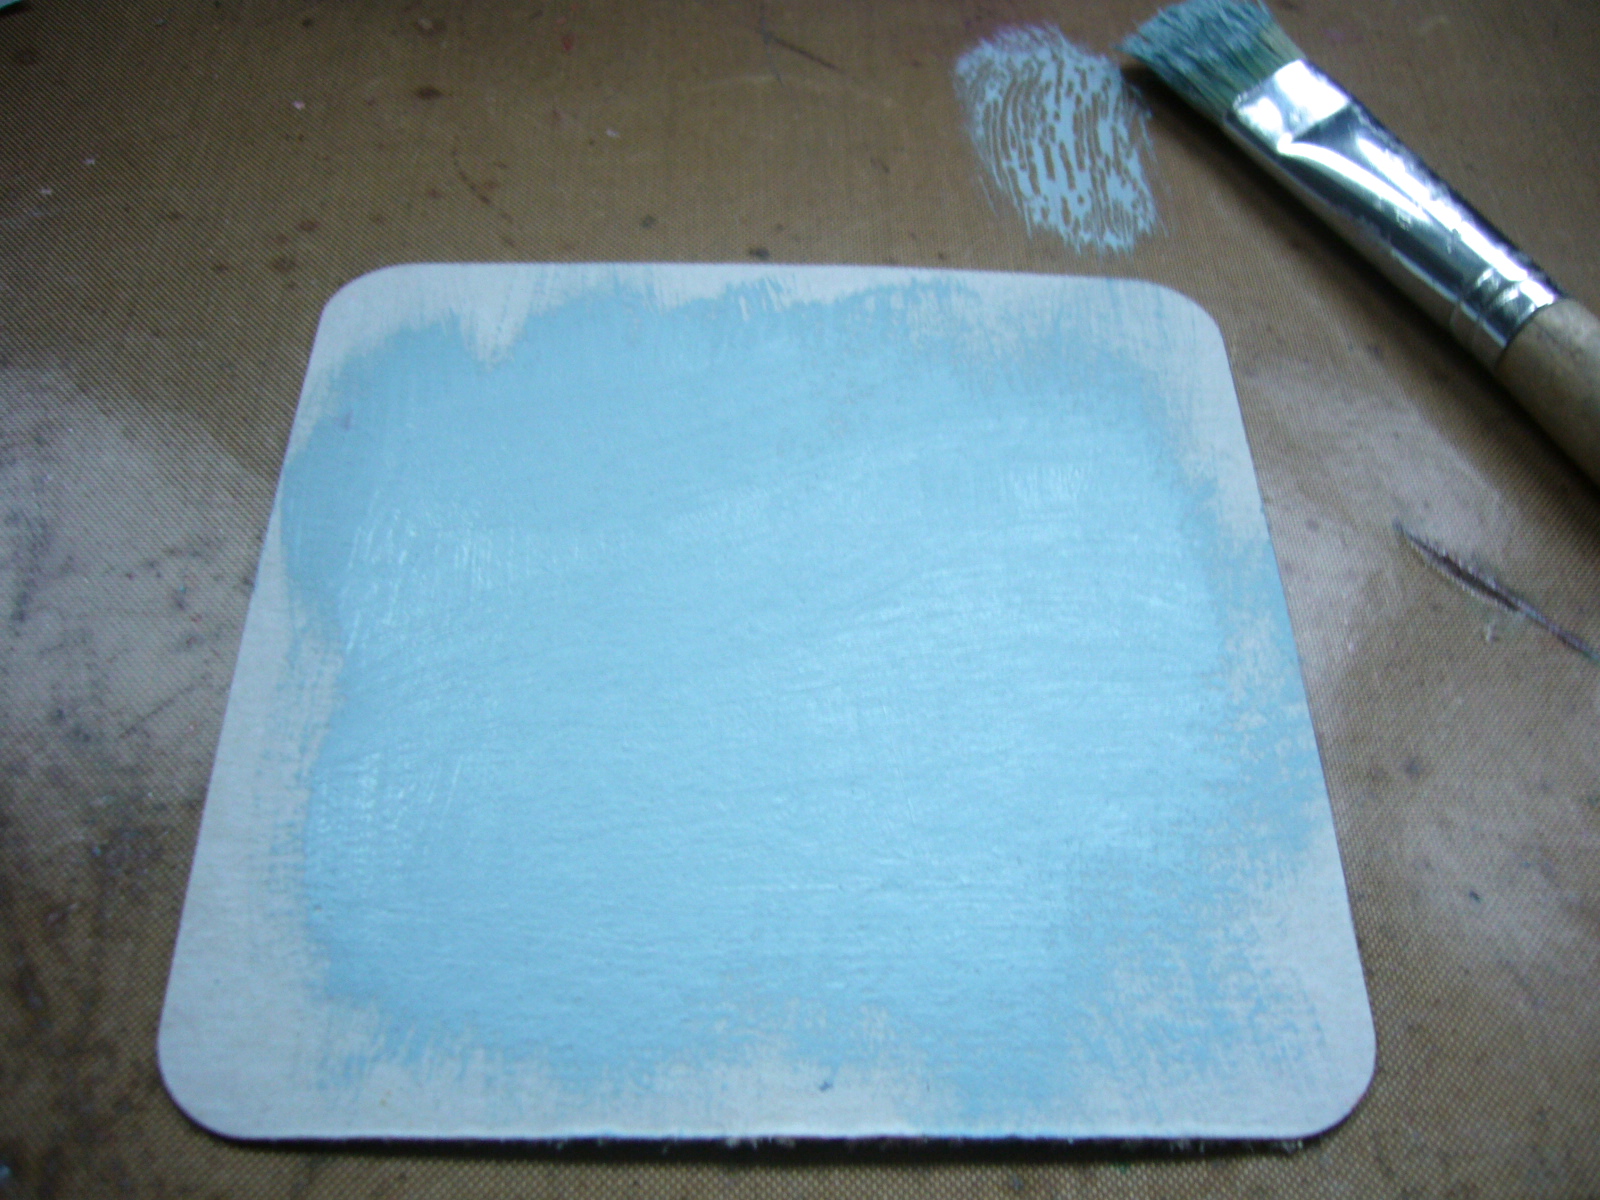
So I started with my bare coasters, and gave them a rough coat of pale blue acrylic paint. I deliberately left bare spaces at the edges for a rustic look. It also means there's variation in the textures of my "canvas".
The next step was to use a piece of card to add some rough strokes and lines in another colour. I used a dark brown, and the idea was to create the look of meadow grasses, shifting in the wind.
The strokes are pretty random, and I made several "cuts" in a row so that there were different amounts of paint being applied for each blade of grass.

Now some stamping - yay! The first of the hedgerow stamps - these are the Wayward Blooms - done in Memento Teal Zeal. As you can see, the stamp is huge (so cool!), so these are all partial stampings.
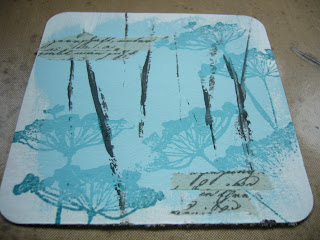
I added some extra interest using some Tim Holtz tissue tape from the Hobgoblin set. If you tear it lengthwise, then stick it down with the two straight edges against one another, you get a nice interesting rough edge to it.
Now the next stamp - Delicate Flowers - this time done in Coffee Archival. If you take a look at the finished album pages, you'll see that on opposite sides I alternated which colour each of the two flower stamps was done in. A little variation within an overall design which was intended to be as simple and serene as possible.
Final step in the background layers was to use the white Inkssentials gel pen to highlight the blossoms of the Delicate Flowers.
Such a calming activity - you enter a kind of trance state just dotting them on. And I think it really lifts the look of the whole page.
So then it was just a matter of layering the Donna Downey quotes - stamped in Coffee Archival, and edged with Vintage Photo DI - onto some dark brown cardstock, and working out where they looked best on each page.
I used sentiments from both the Empowered Words and the Art and Possibility sets, as I wanted each of them to include a "handwritten" word.
And however you define "Art", I have to say making this little book really did make me happy! I hope you've enjoyed seeing some of the process.
Here's where to go if you'd like to see some more close-ups or any more making-of details.
Don't forget to check out the current challenge here at eP - we're looking for projects including Folded Paper of some kind. All the details are
here, and we'd love to have you play along. Thanks so much for stopping by today, and see you again soon.
Click on the link to go straight to the product: