Photobucket Photobucket Photobucket Photobucket Photobucket Photobucket
Showing posts with label Claudine Hellmuth Studio Gesso. Show all posts

Wednesday, May 7, 2014

Blooming Canvas

Hi everyone.  My name is Steph Ackerman and I am thrilled to be guest designing this month for Eclectic Paperie.  This store is full of amazing products and I had a hard time deciding exactly what I wanted to work with.    I knew I wanted to create a  canvas, but I had no idea exactly what I was going to do with the canvas.    I generally have no idea what I'm going to create, so I just pulled out some supplies and played around.  After all, isn't that what creating is all about?

I selected  Wendy Vecchi's  Stamp It Stencil It - In Full Bloom - to work with.  I love stamps and I love stencils so seeing them working in harmony was going to be fun.  I stamped the leaves along the side of the canvas first in ColorBox Limelight Ink, then added the flowers with ColorBox Berry Ink.  Since I wanted to work on my canvas without waiting for it to dry, I used a Ranger Heat It Craft Tool.  This way I could dry my elements and continue to work.


I stamped the flowers in black ink on top and as you can see, I didn't get a wonderful impression.  Honestly, I was ok with it because I knew I wanted some dimension and would "fix" this issue later on.

 
After stamping the 3 flowers, I created masks of the flowers so I could add 2 additional flowers between them. 
 
 
Then as I wanted the flowers to be 3 dimensional, I stamped, colored and fussy cut 5 flowers.  I placed Glue Dots between the flower layers for a little dimension. 
 
 
Some Robin's Nest Dew Drops finished off the centers of each flower.  I used Claudine Hellmuth Gesso to adhere torn strips of book paper to the canvas before spritzing with Art Anthology Patience.  It dries very quickly and I was able to add color around the outside of the canvas using the Inkssentials Foam Blending Tool, with Ranger Distress Ink in Worn Lipstick and Tattered Rose .  I probably should have added the book pages before I began my project, but a work in progress takes on a life of it's own, doesn't it? 


I loved the Prima doll stamps when I first saw them.  While a little big for cards, I love how well they work with a canvas.  I used Pocket Doll, fussy cutting her as well as the dress.  I redressed her before adding her to the canvas with foam adhesives for dimension.  A little ink in her hair and headband and she look lovely amongst the flowers.


I had some tiny stickers in my stash and used them to provide the phrase - "stop and smell the flowers" which I placed around my gal.

Here is a close up of the gorgeous flowers.


I hope you enjoy this canvas as much as I did creating it.

Thanks so much to Kim and Bonnie for inviting me here this month and thank you for stopping by today.

Steph


Tuesday, February 25, 2014

An Altered Canvas Bag with Broni

Hello, everyone, and happy Tuesday!

It's Broni here and I'm using my turn as hostess here on the eP blog to show you my entry in Toni's Altered Bag ePicks challenge.

Here's what my altered bag looks like:


Now I'll walk you through the steps I followed to get there, with a few photos along the way.

1- used a piece of heavy cardboard inside the bag to protect the other side and to give me a firmer surface to work on

2- painted on watered down Gesso
3- airbrushed the whole front lightly with Copic BG53
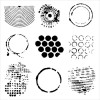
4- airbrushed using Copic BG57 and the TCW Well Rounded stencil
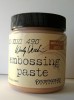
5- applied Studio 490 Metallic Gold embossing paste with the same stencil


This embossing paste is so beautiful.  The stencils turned out looking like jewels! 

6- attached flowers and beads using Ranger Glossy Accents


7- reapplied some Gesso in order to have a better base to add my sentiment
8- applied Brilliance Galaxy Gold ink using a large sponge dauber and the Rays stencil
9- applied Distress Black Soot ink with the Tiny Circles stencil
10- stamped sentiment (from Technique Junkies) in Archival Jet Black ink; used a fine tip Sharpie to smooth out some of the lines


11- laid a scrap die cut over the sentiment and airbrushed again using the Copic BG53


12 - traced around the die cut using the Sharpie; drew another line around to form a frame
13- misted with some gold spray ink
14- added some washi tape here and there (may need to adhere it better with some of my Glossy Accents)


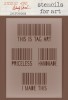
Oops!  I almost forgot to show you the back....airbrushed with my Copic BG57 and my Studio 490 Barcodes stencil.


 So there you have it!  I think this would make a great bag to carry craft supplies in.  Or maybe some wine.  Or maybe both!!

I hope you'll play along in the challenge with us!  You could win a prize and most likely have loads of fun along the way!

Thanks so much for stopping in today!  Until next time....Happy crafting!


Monday, December 30, 2013

Bless Your Heart!

Hello, everyone!  It's Broni here with you today.  I hope you all had a wonderful Christmas and that you're ready for a bright and happy New Year!

I don't know about you, but I'm ready to move on from all the holiday hustle and bustle.  Lately I've been looking forward to celebrating LOVE and creating Valentine's Day projects.  I have one for you today!


I've got a brief run-down on the how-to for you:

I added a book page to my journal using Matte Multi-Medium, then painted it with some watered down Gesso.

 Next I added some Spun Sugar Distress Paint.

I took some scraps that I had left over from another project and added them to the page with the Multi-Medium, then added some print stamped in Memento Tuxedo black ink, and some hearts from the Catherine Scanlon Random Shapes stamp set stamped in Seedless Preserves ink.


I drew some lines around the page and added some shading to the hearts with a watercolor pencil and also added some Tiny Circles with Black Soot ink.


I cut a heart from some cardboard and painted it with Black Gesso then added some Charcoal twine tied through the tag hole.  I randomly added some silver dots using Glossy Accents.  My die cut arrow is also from the leftovers of another project.  (You'll get to see that one on Thursday!)


Sigh.  Now that we've moved on from Christmas, what's up for you in the new year?  More crafting, I hope!

Have fun!


Saturday, December 21, 2013

12 Days of Christmas ~ Day 12 ~ Fun with Catalyst Tools and Glazing Medium

Today is it, the 12th day of eclectic Paperie's awesome 12 Days of Christmas sale.  Today's featured products are the Catalyst Tools and Liquitex Glazing Medium!  


Definitely two must have products.
Buy a Catalyst tool, get the Glazing Medium for $6.99
 Use the code: 12DAYS12 when checking out to get this great deal.  And remember that this code is good today only until midnight EST.
I had a lot of fun playing with the Catalyst tools.  I knew that these handy, ergonomically designed "wedges" have been around for a while.  Clay artists have been using these for achieving texture and shape when molding clay or plaster.  These little tools have also been around in the food industries, especially in creating cakes.
Playing around with these nifty little gadgets, I made a quick video showing me playing around and attempting to show just how versatile these Catalyst tools are.  Then I went on to show how you can use Liquitex Glazing Medium, and finally my attempted project using a re purposed mini canvas.
I apologize in advance for the poor cinematography.  (Definitely had a "what can go wrong - does" day).  I'll recap after the video.


Here's a link in case the video doesn't play: http://youtu.be/xDS2MxjGk_w
Catalyst tools:
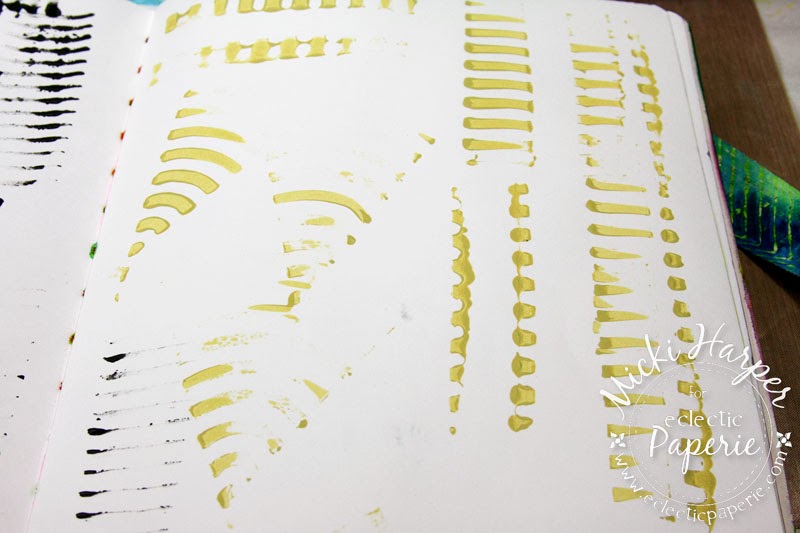
  •  Perfect tool to add design on your Gelli Plate
  • Can be used as a stamp
  • Works great with Embossing Paste
  • Also great with heavy body paints (acrylic, oil, etc.)
  • Use as an applicator to apply paints, glues, mediums, etc.
  • Heat resistant which makes them ideal for encaustic art.
  • Easy to clean up and are ergonomically designed.
Now to Liquitex Glazing Medium, this medium is a must have. Watch the video to see why this medium should be a part of your art tools:
  • Mix it with your paint to achieve longer "open time" - meaning your paint will stay wet longer.  
  • Makes a glaze - will turn your opaque paint into a translucent paint.***
  • Thins your paint but unlike adding water which will break up the paint, thinning your paint with glazing medium maintains the color.
  • Use it as a base or mix it with translucent colors to create wonderful color depth and jewel like finish.
  • Wonderful brushing and leveling qualities - will "grap" edges, textures, gaps. ***
  • Non-yellowing and water proof once dry.
  • Makes your paint last longer since you are using less.
***If you follow Donna Downey, you'll know this technique!  Mix your paint with the glazing medium, apply to your project, let sit for a minute or two and then take a damp cloth and wipe off.  

 I only did the right hand side of the piece to show you the difference.  I could have removed/lightened it even more if I had continued to wipe.
 NOTE of warning:  don't use cheap baby wipes because the lint from the wipe will come off on your project and I couldn't get it off.

The video or the pictures do not do this medium justice.  It's hard to show what it does but once you play with it, you will not want to do without.

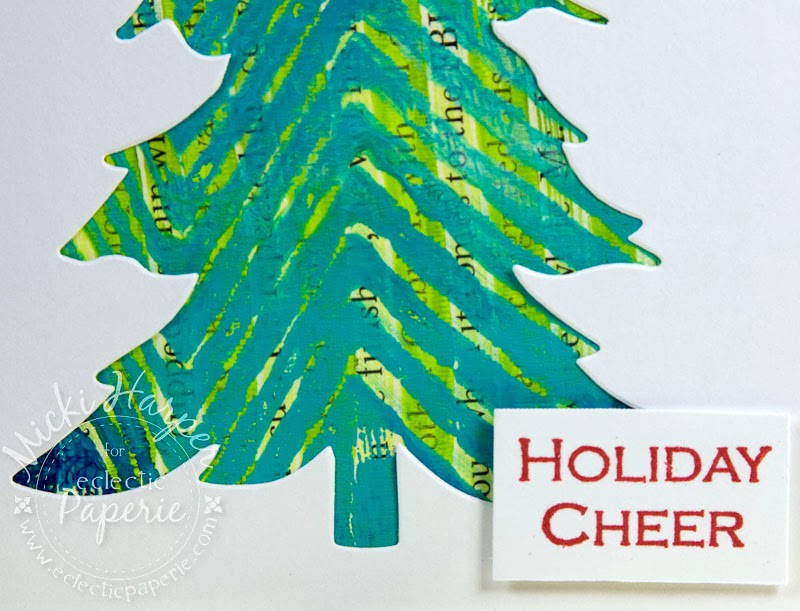
And are you wondering just what I created with all those gelli plate samples?  Well, I copied Broni's idea and created ....what else, as I'm awfully behind.... several Christmas Tree cards:


And the canvas?  Well, that ended up like this:


I hope you were inspired to create and try some new tools and mediums and enjoyed the video.  Did you notice all my blunders and indecision trying to create the canvas?  Don't let that stop you from getting some art time, especially during this hectic time.

And don't forget to head over to the eP Shop to take advantage of today's 
special - you have until midnight!!!!!

Supplies Used: