Photobucket Photobucket Photobucket Photobucket Photobucket Photobucket
Showing posts with label donna-marie. Show all posts

Monday, August 19, 2013

Vintage Passion

Good Morning Folks!
Donna-Marie here to share my new journal spread.
Many of you know that I adore vintage clothing, fabrics, patterns and styles.
Well these journal pages were the inspiration and are dedicated to that passion.
Here is how they started ...
I love my Aquarelle Water Soluble Crayons... 
I just scribble and wet...
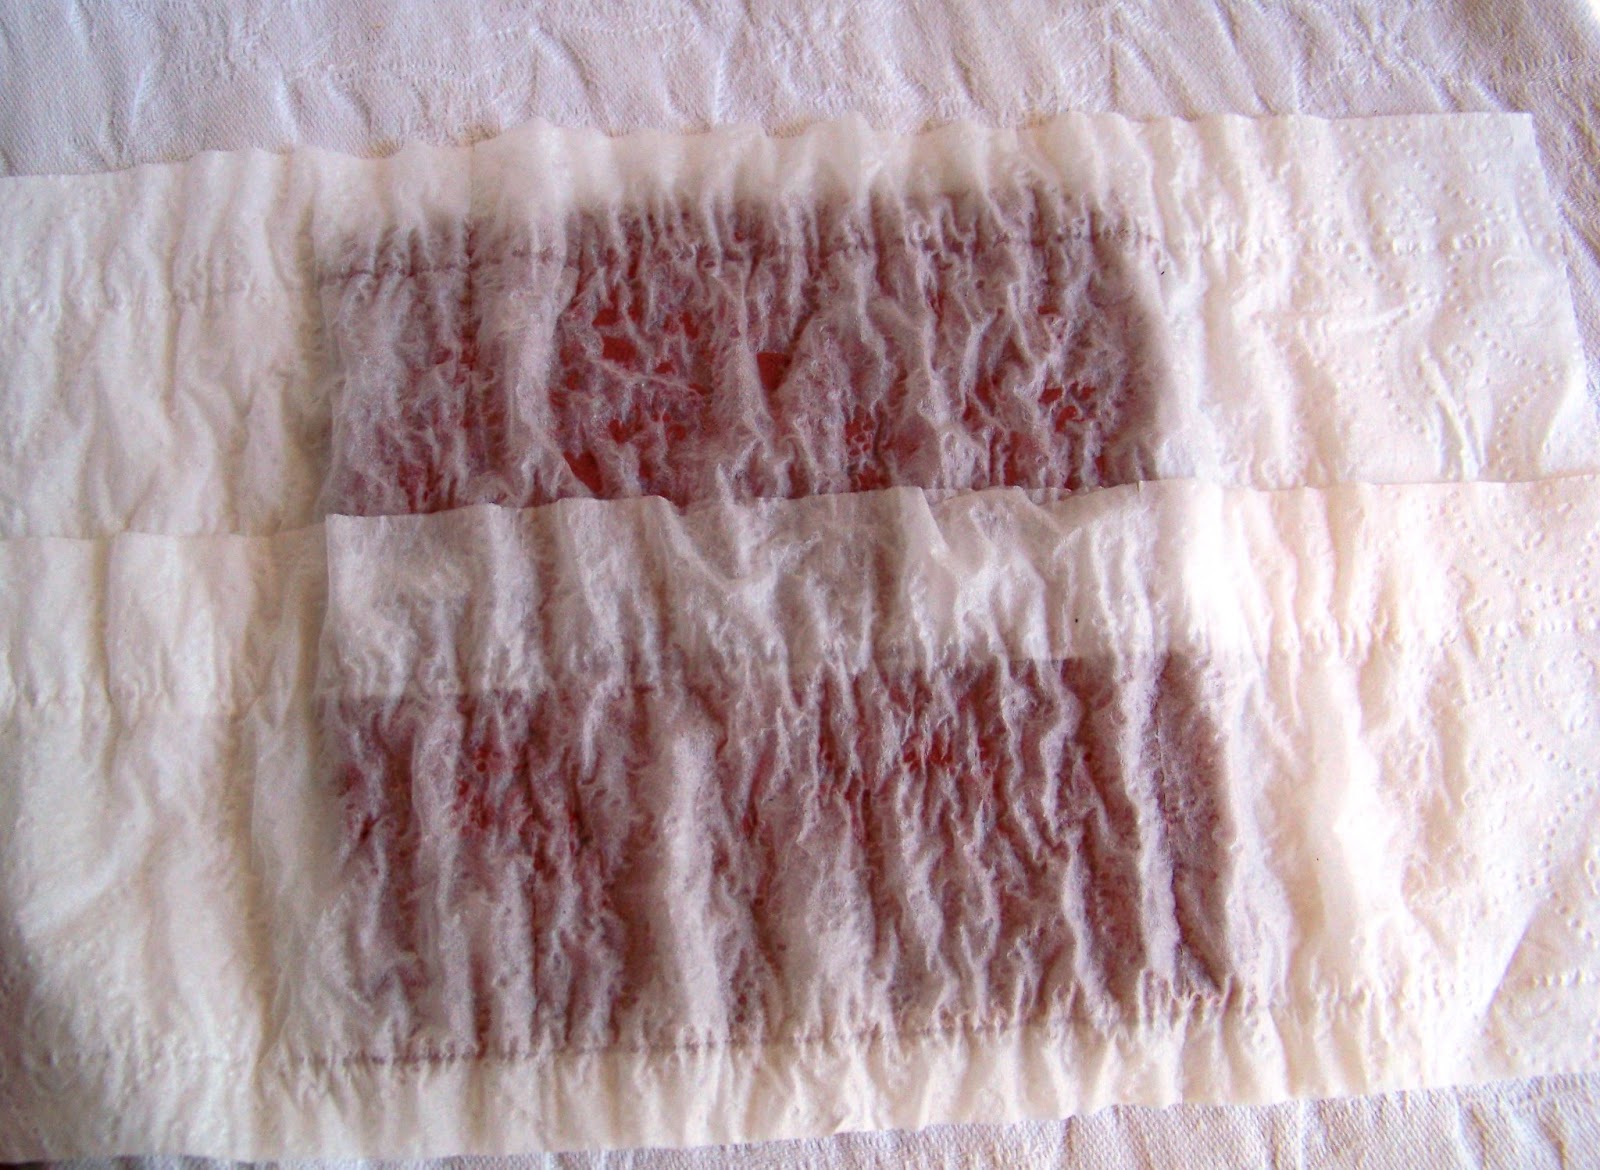
I used a baby wipe to help me blend the colors better.
I wanted to add some bright green to the open areas so I mixed water and Key Lime Silk Paints in a spray bottle to make a soft shimmery wash (Thank you Donna Downey for that idea!!).  I also used Fresh Lime Dylusions Spray (later you will see the Higgins India Ink).
This is the base I worked from...now it is time to add the details
I used my Gel Medium and added an old print I printed out on my computer and a picture of an old shoe I cut from a calendar.  I also added Wendy Vecchi's Translucent Modeling Paste through my new TCW Peacock Doily Stencil.  I let that all dry!
Then I took a baby wipe again and moved the water soluble media around again.  This enhanced the stenciled designs. 
I stamped Dyan Reaveley Couture design on G45 Bohemian Paper and fussy cut them out.  I adhered them with more Gel Medium.  I also added some of the left over scrapes to the left side.
I added some Tim Holtz Rub Ons and splats of Black India Ink.  The splats did not really seem to work ...so luckily I was able to wipe some of them away with a baby wipe :-)
The baby wipe mixed with the black India Ink really toned down a lot of the brightness.  I also added my sentiment stamped on more Bohemian G45 Paper.  I tore it and applied it with Gel Medium.
I felt like it still needed a pop of color so I grabbed my Blue/Purple Gelato sticks,...smeared and rubbed!!
close-ups
 
I hope you enjoyed my journey...thanks for stopping by!! Be sure to check out all the highlighted supplies and media so that you can have fun along with us here at eclectic Paperie!!


Saturday, July 20, 2013

Toilet Paper Art

Good Morning Folks
Donna-Marie here to share a new technique with you that combines both paper and fiber art.
...Toilet Paper Art .
I know I promised  a video but here in the northeast we are in our 6th day of a heat wave...ugh!!!
I live in New England for a reason...I would rather be cold than hot.
Anyway my craft room is our sunroom with all windows...a beautiful place to create indeed until the heat and humidity rear their ugly heads.  I could only last a short time in my room so pictures will have to do today.
I have lots of photos so grab a comfy spot and enjoy:-)
Here is a close up of a completed piece
Here is the stamp I used.
Once this piece has dried it becomes a piece of fabric...flexible yet sturdy so I was able to include my fiber art and create this...
I added beads and embroidery along with some yummy wool fibers for a one of a kind piece...all from toilet paper!!!
Let's see how this works...
You will need 2ply toilet paper, a foam brush, watered down gel medium (one teaspoon to 1/2 cup of water) make sure the medium is well dissolved, spray bottle of water, a stamp and a brayer.
The stamp you choose is important.  It can be any variety...on a block, no block, clear, doesn't matter however what does matter is how deeply it is etched.  The stamp should have nice deep areas throughout the stamp for maximum benefit.
Get your gel mixture ready first
choose your stamp and let's go...
I chose an all around stamp background pattern this time...mist it heavily with water.
Lay your toilet paper down...you can see that I have overlapped the center and also have it hanging of the edge.  The overlapped part will not show on the final piece and the edges that hang over become "ruffly" like a lettuce leaf edge which is pretty when colored.
I spayed the piece down again after I laid down my paper.

Then I go over it with my foam brush loaded with the water/gel mixture.  Do not rub "dab" up and down releasing the liquid otherwise you will tear the paper.  No worries if it tears slightly with all the layers going down it will be fine.
After you have added the water/gel mix run over it with a brayer.  Not back and forth...only one direction!! Then continue with the layers in the exact same way: water, paper, mixture, brayer...I used 6 in all.
This is what it looks like when all 6 layers are down.
Now carefully peel up the entire paper piece off the stamp and flip it over...you will see the beautiful embossed image.   Because the image is fully saturated now is the time to color it especially if the medium you are using is water soluble...like Dylusions Inks :-)
I sprayed the piece with 4 colors of Dylusions Ink: Fresh Lime, London Blue, Vibrant Turquoise, and After Midnight.  The image looks very dark right now because it is saturated but when dry it lightens up quite a bit!!
It takes almost 48 hours for this to dry so I can not show you the final project but I have another piece done the same exact way with another stamp...
I added some embroidery, beads, and small mini flowers...look at the edges love the unfinished "ruffly" look.  I am working on a fabric book or these pieces...stay tuned :-)
And here is the piece used in my mixed media piece entered into the eP challenge see it in the frame.  I also used the extra pieces I cut off to fit it in the frame as part of the background.
 
I hope this inspires you to be creative and mix your love of the arts no matter which ones you enjoy the most :-)
Peace Out


Friday, May 24, 2013

Colorful Transformation

Good Morning Folk
Donna-Marie Here to share a new mixed media altered project.
My favorite pastime is to scour through my local thrift store looking for items that are begging to be reused LOL
I found this painting book and yes the painting idea caught my eye at first but....
I really took a good look at the shape of the book itself

I loved the "window" the front cover had.

This is the inside...I removed the inside book and painting tray

I began painting with Gesso to cover all the color and print.  You can see I left the pocket thinking I would use it, but you will see later that it did not work and I removed it.  I also traced a square where the window would be positioned when the book is closed. 
 
So here is the book al gessoed and a pencil trace of the window
This past weekend I attended an antique fair and picked up all this loose cool metal antique pieces for pennies...I just had to use them!! I was with my hubby who kept asking why I was buying someone else's "junk"...hahaha he had no idea what I was thinking...but then again he say's my mind is a scary place when I think creatively LOL
anyway I decided to use these metal pieces in the window area of my book.  I also added other items I had including lace, Tim's stuff, an old mini spoon, button, screws, chipboard pieces...here is a close up. Everything got glued down with Zip Dry.
 
I have been really inspired by Finnabair lately and decided to gesso these pieces bringing them altogether as one look. You can see I removed the pocket now.
 I really like the way the items sit in the window when the book is closed.
Now for the color Mmmmmm fun stuff!!
I used my Dylusion sprays: Lemon Zest, Post Box Red, Dirty Martini, Vibrant Turquoise. Because the entire area was gessoed the paint took a while to adhere to the texture giving me time to dab  it around giving it a watercolor look.  Some of the lace was synthetic and would not color...but I like the look!
This is the left side..it looks so Monet...me likey!!!!
Here it is closed...I love the white against the colored portion.
I added more Post Box Red
 
I chose to leave the front white and add some embellies :-)
 I made these pieces in a Splash of Color workshop I attended a few weeks ago with Cheryl Mezzetti
The roses are paper but the chipboard with the text and the wire stencil was created with Ferro in the Gold color as well as the green piece...this is fantastic stuff!! It is embossing paste that has a beautiful sheen and color and yes even glitter!!! Be still my heart *smile*.  The butterfly is a Donna Downey Stamp on text paper cut out and layer three times.  I also used the 3D Stamp Paint in Moss Green.
I will be finishing the inside soon and will share when I do!
I hope you can get your hand on a piece to alter..it is soooo much FUN :-)
Be sure to check out our new Viva Products like the Ferro and 3D Stamp Paint in our store you will not be disappointed.
Peace Out


Thursday, May 2, 2013

Get Altered Challenge - Message in a Bottle


Welcome to eclectic Paperie’s Get Altered Challenge! 
The Get Altered Challenge is held on the first Thursday of each month and each challenge is an opportunity for you to be inspired by one of our eTeam’s creations.
 This week it’s Donna-Marie here to share the new challenge, alter a glass bottle or jar.
Here is my bottle...
I started with a bottle I got from Michaels for $3.99.
I painted the top section with Viva Decors Maya Gold Paint.
I then embossed a piece of copper metal with the new Tim Holtz  French Script Folder.  I cut the piece in half and glued it to the bottom with glossy accents.  It needed some extra pressure while it dried so I used elastic bands to hold it down.
I then used 7 Gypsies Black Script Gaffer tape on the bottom.  The black visually weights the bottle down...(the yellow and red lines are the elastic bands).
I then used Tim Holtz Tissue Script Paper.  I tore it into little pieces and glued each one down with Matte Medium.
I then added a strip of torn paper from the G45 French Country Line.
I wanted to mute the colors down a bit and give a frosted look to the clear part of the bottle so I used Viva Decors Inka Gold in Platinum and rubbed it all up and down the bottle.  This stuff is great it's beeswax and glides on beautifully giving anything you put it on a beautiful luster...kind of like rub and buff.  If enough people request it Kim will bring it into the store for you :-)
Ok so now I have put the stopper in, added Black Soot ink all around, used Wendy Vecchi's Embossing Paste with The Crafter's Workshop Chicken Wire Stencil, added a sticker from the G45 French Country Line, and a Wendy Vecchi Crown.
After the paste was dry I colored it with Dylusions Sprays: Dirty Martini and Post Box Red.  The spray worked great because it did not stick to the clear bottle area it only colored the embossing paste and some of the paper...just what I wanted.  You can see that I added a bunch of goodies from my stash of stuff...ok admit it who does not have a stash?? LOL
The metal flower is from Melissa Francis, small metal flowers are from Mommenta, The sunflower is from Wendy Vecchi, the beads are an old bracelet that fit perfectly around the bottle top, and G45 Tags and stickers from French Country. 
More metal flowers, stickers, sunflower, and elements fro G45.
That is it folks...this matched my kitchen perfectly...it's already there in front of the window shining nicely :-)
I hope you can come out to play along with us and alter your own bottle!!
I can see these making great gifts you can fill them with seasoned vinegars, home made marinades, oils, bath salts, or drinks.

The Get Altered Challenge is about exploring your creative journey, about stepping outside of your comfort zone, experimenting with new products, and creating altered and mixed media art.  
  We want to see your work and hear about your inspiration!  All of those who play along with our challenge will be entered into a prize drawing for a $15.00 gift certificate to the eclectic Paperie store.

So grab your supplies and play along!  Here are a few things to keep in mind for this challenge…

-You do not have to use products sold in the eP store…but we do love it when you do!

-Share a direct link to your creation, not just your blog, using the Linky Tools feature at the end of this post.  If, for any reason, the Linky Tools doesn’t cooperate, please add a link in the Comments section of the blog.

-When uploading to any online galleries, please use any of the following keywords; eP, eclectic Paperie or Get Altered Challenge.  Link your creations to the eP blog.

-If you’d like to be considered as one of our featured projects and be entered into our prize drawing, please be sure to add your link no later than 6:00 pm EST on May 16th.  The winner will be announced right before the eTeam Picks Challenge.
Have fun!!!!!!