Photobucket Photobucket Photobucket Photobucket Photobucket Photobucket

Monday, October 28, 2013

Fall Swim


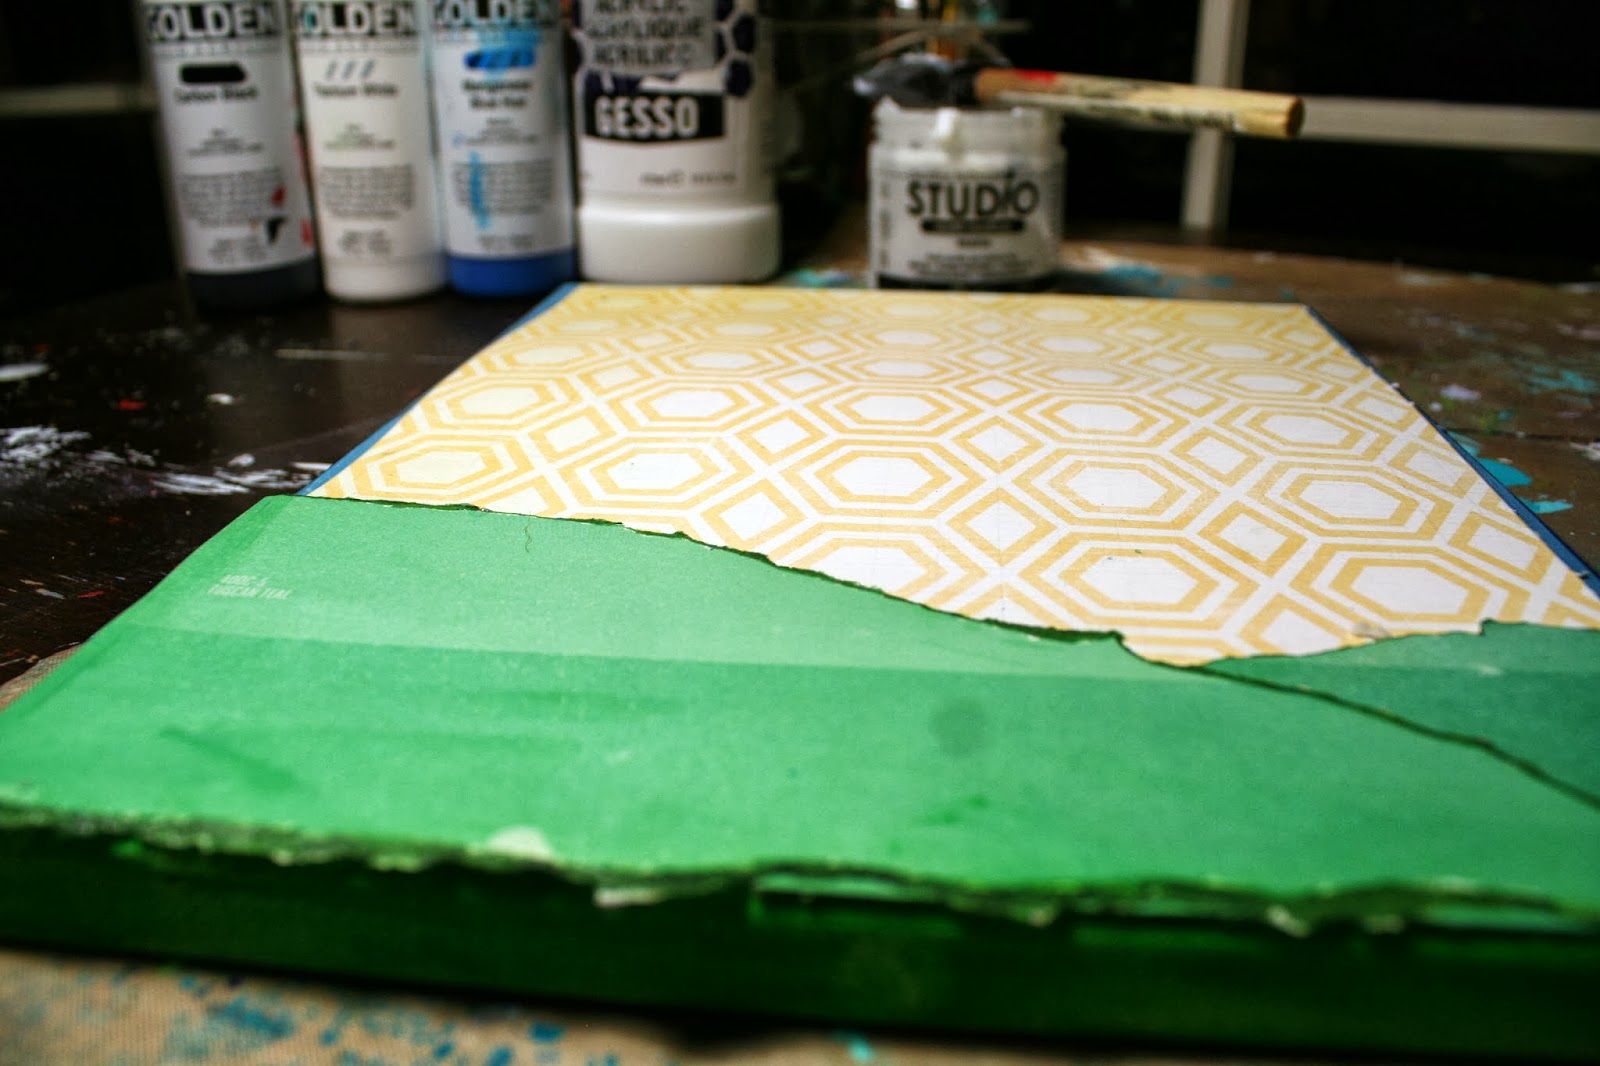
Hi, Mary-Ann here! With watercolor being an up and coming challenge here at Eclectic Paperie, I decided I'd try my hand at watercoloring on this swimming layout.  Fitting don't you think? WATERcolor with swimming!!  Anyway, I also tried a new technique.   


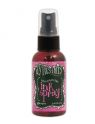
I laid out my non-stick craft sheet and lightly sprayed color mists directly on the sheet and then diluted this by spray by spraying water directly on top.  This helped thin my colors.  It is hard to see in this photo but look closely!


I then turned my paper face down onto the wet puddles of spray.  When I lifted and turned my paper over, I could see where the colors mixed on my paper.


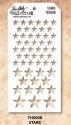
Once I decided where my photo and papers were going to be, I got out my Tim Holtz Stars Layering Stencil and with a gray watercolor pencil, I traced where I wanted random stars.  With a blender pen or water brush, I lightly went over the pencil marks to make them blend like watercolor.


See the stars?  I then took the same colored pencil and drew light lines and lightened those with the same blender pen.  


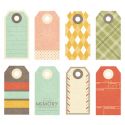
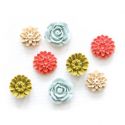
Layered on my tags, ephemera embellishments and resin flowers.


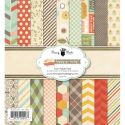
This Fancy Pants line, Happy Go Lucky, was PERFECT for the colors in my photo.  I must say, I have tons of product left that would create a completely different style layout.  After this layout was complete I trickled droplets of gold spray in various places and used gold thread to sew.  This time, the sewing helped keep my tile and small embellishments in place.  

You can find the items from this layout here in the shop or on the links below.


Saturday, October 26, 2013

Finding Inspiration

If you're like many crafters, grand ideas don't always easily pop into your mind.  Many struggle with spending too much time staring at a pile of cardstock, paints, and embellishments.  True, there are times that the light bulb goes off, an idea hits, and I can barely wait to get into the studio to create.  However, due to tight schedules and a mind that is already full to the brim with a large "to do" list, too often I sit down at my table, ready to create, and find that I'm struggling with what to make and what products to use.

I often will start a project by simply putting color down on a few pages and an idea will formulate but when I hit those times of crafter's block (think writer's block) I find that nothing works better than watching some videos or looking through galleries/books of my all time fav artists.

For today's art journal pages I took some of what I learned at a recent Donna Downey class (use masking tape!) and combined that with one of my favorite Donna images...her fun and funky flowers.

To start, I covered two pages with masking tape, being sure to overlap pieces of tape and to make the pieces uneven.  I even left some white space.  After the tape was down, I covered both pages with gesso.
I then used Distress Paint (links to specific colors at the end of the post) to cover the top and bottom of the pages.  A good spritz of water made the colors run together beautifully (drippage!)
The next step was to add a few stencil designs.  I'm really working on trying to get a good mix of images as I find I get carried away with the stencils and I can't stop!  I'm trying to stay with a specific color family, for example, colors in the blue/purple family, and ones that compliment (why is it I can easily pick colors for a card but struggle with paint??) each other.
This page got some Seedless Preserves Distress Ink and silver paint...that's it!

Next, I sketched the flowers using a Stabilo pencil (these pencils react with water and then dry smudge free...I adore them!).
Once I was happy with the designs (these are totally Donna...I LOVE them!), I used acrylic paints to color them in and then a text stencil to add a little design (again, an idea inspired by Donna).
Then I added my pop of color...bright yellow!  And I can hardly live without splatters so I watered down acrylic paint, loaded up my brush, and tapped the handle on the side of my hand...perfect splats!
All that was left to do was to add a sentiment, on a manila tag, and the date.  This has to be one of my favorite art journal projects to date!
I will say that I'm looking forward to continuing to grow as an art journal artist (I am so in love with this art form) and developing my style.  At this point, I feel like much of my work is too closely like my art heros (Donna, Wendy, Dina, etc.) but I'm ok with that.  For those of us who don't have art freely flowing from their heads and fingers, I think imitating styles (note, this does not mean copying anyone's work and putting your name on it!) is a great way to learn and through imitation and experimentation you will find your own style and the art that most speaks to you.  (Click on the first photo to enlarge and get a good look at all that texture!)

Enjoy and here's to making art!!

Adirondack Paints (Sunshine Yellow)
Distress Paints (Seedless Preserves & Broken China)
Golden Paints (Titan Buff)
Archival Inks (Jet Black)
The Crafters Workshop Stencils (Quartrefoil & Chevron)

Friday, October 25, 2013

Hot Air Balloons . . . love them!


My Granny turned 92 this year!! I am going to get to visit with her this week in Scotland! SO excited!  I wanted to make something for her, but really, what kind of art piece would a 92 year old like to have? While I was sitting in traffic, having this conversation in my head, a hot air balloon drifted across the horizon . . . sometimes inspiration comes and knocks us over our head. This is the piece I made for Granny! 

 
I sketched out the balloons on the canvas so I could get an idea of sizing!  (As you can see, my sketching is not beautiful!) 
I painted the edges of the canvas to help the final piece have a more finished look!
 

I took out my new Crate Paper collection and cut out a background and some rolling hills!

I cut out balloon shapes from plain white paper.  Then I pieced in the patterned paper on top to give the balloons some color!


I used some twine to connect the balloons to their baskets.  This just gave the piece some dimension and texture!


Then I added my texture layers ...  Distress Ink into a stencil, rub-ons, doodling and stamping around!!
 

I sealed it all in with my matte medium  and realized I had finished the jar . . . I LOVE this stuff. I can't tell you how it has changed my life!!  I used to use Decoupage ALL the time however,  I found that it was sticky and goopy when I didn't want it to be.  Then I ordered some of Claudine Hellmuth's matte Medium from ePaperie. It is amazing!! Thick, quick drying and so good for gluing and sealing!! LOVE IT!

See . . . time to order more!!


And the finished piece, ready to board the plane with me today and head off on our adventure!  Thank you so much for stopping by . . . I hope lots of inspiration drifts your way this week!!  -K


Thursday, October 24, 2013

Get Altered Challenge Winner

It feels good to be back to our regular schedule!  After a crazy September, with me being sick for two weeks, on vacation, and then celebrating our one year anniversary of owning the store...I feel like I've been playing catch up and was missing out on our twice a month challenges.  Aren't you excited about this week's challenge of watercoloring?  I adore Giovana's card...it's simply beautiful!

And what about our Get Altered challenge?  Did you get a chance to play along?  I LOVE seeing what everyone creates and it's such a great opportunity to check out other artist's work and blogs.  Great projects submitted for the altered box challenge and it was so hard to pick a winner but after pouring over the entries, I kept coming back to one...The winner of the October Get Altered challenge is...

Sarah Lynch

Sarah - Great job on your altered box!  I love the theme, the checkered floor, and the so sweet and tiny furniture.  Seriously, how cute is Sarah's creation!  Sarah, please contact me at kim@eclecticpaperie.com to claim your $15 gift certificate!

A HUGE thank you to everyone who participates in our challenges.  It really is such a delight to have you with us!!  Until next time...happy crafting!

eTeam Picks Challenge - Water coloring


Hello everyone, Giovana here today and I am so excited to be hosting the eTeam Picks Challenge this month. 

So my challenge for you this month is "Water coloring" easy right? {wink, wink}

I love water coloring, it's like a relax therapy for me, seriously!! So talking about a relax therapy, I inked a brand new image by Catherine Scanlon Designs "Joy".

Here are the details :
  • Start with a piece of Distress Watercolor Cardstock, stamp the image with Jet Black Archival Ink, then mist the cardstock with water and start coloring it Distress Inks. I just add some ink to an acrylic block and take the ink with a pen brush.
  • For the frame I used Tumbled Glass; for the flowers I used Worn Lipstick, Victorian Velvet, Barn Door; for the leaves I used Peeled Paint and Forest Moss; for the center I used Antique Linen and Vintage Photo. I set aside to let it dry.
  • While image is air drying, create the background. For this mix Embossing paste and Amber Gold paint, add a stencil to card front and add the mix. Set aside to dry or you can use to heat tool. (I prefer to air dry)

  • When paste/paint is dried, add a piece of blue cardstock to your card front, tie Denim twine.
  • Stamp sentiment on dried image in Coffee Archival Ink, the sentiment is from Strictly Sentiment by Wplus9.
  • Add image to front of card with foam adhesive. 


Products used:


Now it`s over to you . . . go on, go get your crafty hat on and have some fun.

  The eTeam Picks Challenge is held on the third Thursday of each month and each challenge is an opportunity for you to be inspired by one of our eTeam’s creations and to be entered into our challenge prize drawing!

The eTeam Picks Challenge is all about inspiration and having fun!  During each challenge one of the eTeam members will share a topic, word, technique, sketch, or product that will become the foundation for your creation.  This challenge is all about mixing it up and just enjoying the creative process of feel free to share a journal page, card, scrapbook project, mini album….Anything goes!  We want to see your work and hear about your inspiration!   
A
ll of those who play along with our challenge will be entered into a prize drawing for a $15.00 gift certificate to the eclectic Paperie store.

So grab your supplies and play along! 

 Here are a few things to keep in mind for this challenge…

-You do not have to use products sold in the eP store…but we do love it when you do!

-Share a direct link to your creation, not just your blog, using the Linky Tools feature at the end of this post.  If, for any reason, the Linky Tools doesn’t cooperate, please add a link in the Comments section of the blog.

-When uploading to any online galleries, please use any of the following keywords; eP, eclectic Paperie or eTeam Pick Challenge.  Link your creations to the eP blog.

-If you’d like to be considered as one of our featured projects and be entered into our prize drawing, please be sure to add your link no later than 6pm EST on Thursday  November 6th.

Wednesday, October 23, 2013

All Treat and no Tricks

Have you ever looked at a piece of scrapbook paper and thought to yourself, "I'd love to have something made out of that pattern" ?  Well, you can in a couple of fast, easy and fun steps.

When I first saw the gears papers in the Graphic 45 Steampunk Spells paper pack, my first thought was what a cool tee shirt that would make...so I did.

First, I cut several of the gears out and arranged them into a pattern I liked.

I glued the various gears and cogs together, scanned them on my printer and went over the lines on the paper with a big brush PITT artist pen to add more contrast.

Once I was satisfied with the design and arrangement, I scanned again and printed onto a Quick Fuse Iron-On fabric sheet for ink jet printers.  I followed the directions printed on the package, trimmed the image and ironed it onto a white tee. 

I am headed to a Halloween themed crop this weekend and know this tee will be a hit with my fellow Steampunk fans.


 There are so many luscious designs in this paper pack that have me thinking about making some  Halloween totes for my grand kids, fun coin purses.or how about fabric gift card holders for those special trick or treaters?

PRODUCTS LIST

Graphic 45 Steampunk Spells 12x12 paper pack
Faber-Castell PITT Artist Pen Big Brush

Tee shirt transfer (fabric)