


Good Morning Folks
Donna-Marie here to share a new technique with you that combines both paper and fiber art.
...Toilet Paper Art .
I know I promised a video but here in the northeast we are in our 6th day of a heat wave...ugh!!!
I live in New England for a reason...I would rather be cold than hot.
Anyway my craft room is our sunroom with all windows...a beautiful place to create indeed until the heat and humidity rear their ugly heads. I could only last a short time in my room so pictures will have to do today.
I have lots of photos so grab a comfy spot and enjoy:-)
Here is a close up of a completed piece


Here is the stamp I used.
Once this piece has dried it becomes a piece of fabric...flexible yet sturdy so I was able to include my fiber art and create this...

I added beads and embroidery along with some yummy wool fibers for a one of a kind piece...all from toilet paper!!!
Let's see how this works...
You will need 2ply toilet paper, a foam brush, watered down gel medium (one teaspoon to 1/2 cup of water) make sure the medium is well dissolved, spray bottle of water, a stamp and a brayer.
The stamp you choose is important. It can be any variety...on a block, no block, clear, doesn't matter however what does matter is how deeply it is etched. The stamp should have nice deep areas throughout the stamp for maximum benefit.

Get your gel mixture ready first

choose your stamp and let's go...

I chose an all around stamp background pattern this time...mist it heavily with water.

Lay your toilet paper down...you can see that I have overlapped the center and also have it hanging of the edge. The overlapped part will not show on the final piece and the edges that hang over become "ruffly" like a lettuce leaf edge which is pretty when colored.
I spayed the piece down again after I laid down my paper.

Then I go over it with my foam brush loaded with the water/gel mixture. Do not rub "dab" up and down releasing the liquid otherwise you will tear the paper. No worries if it tears slightly with all the layers going down it will be fine.

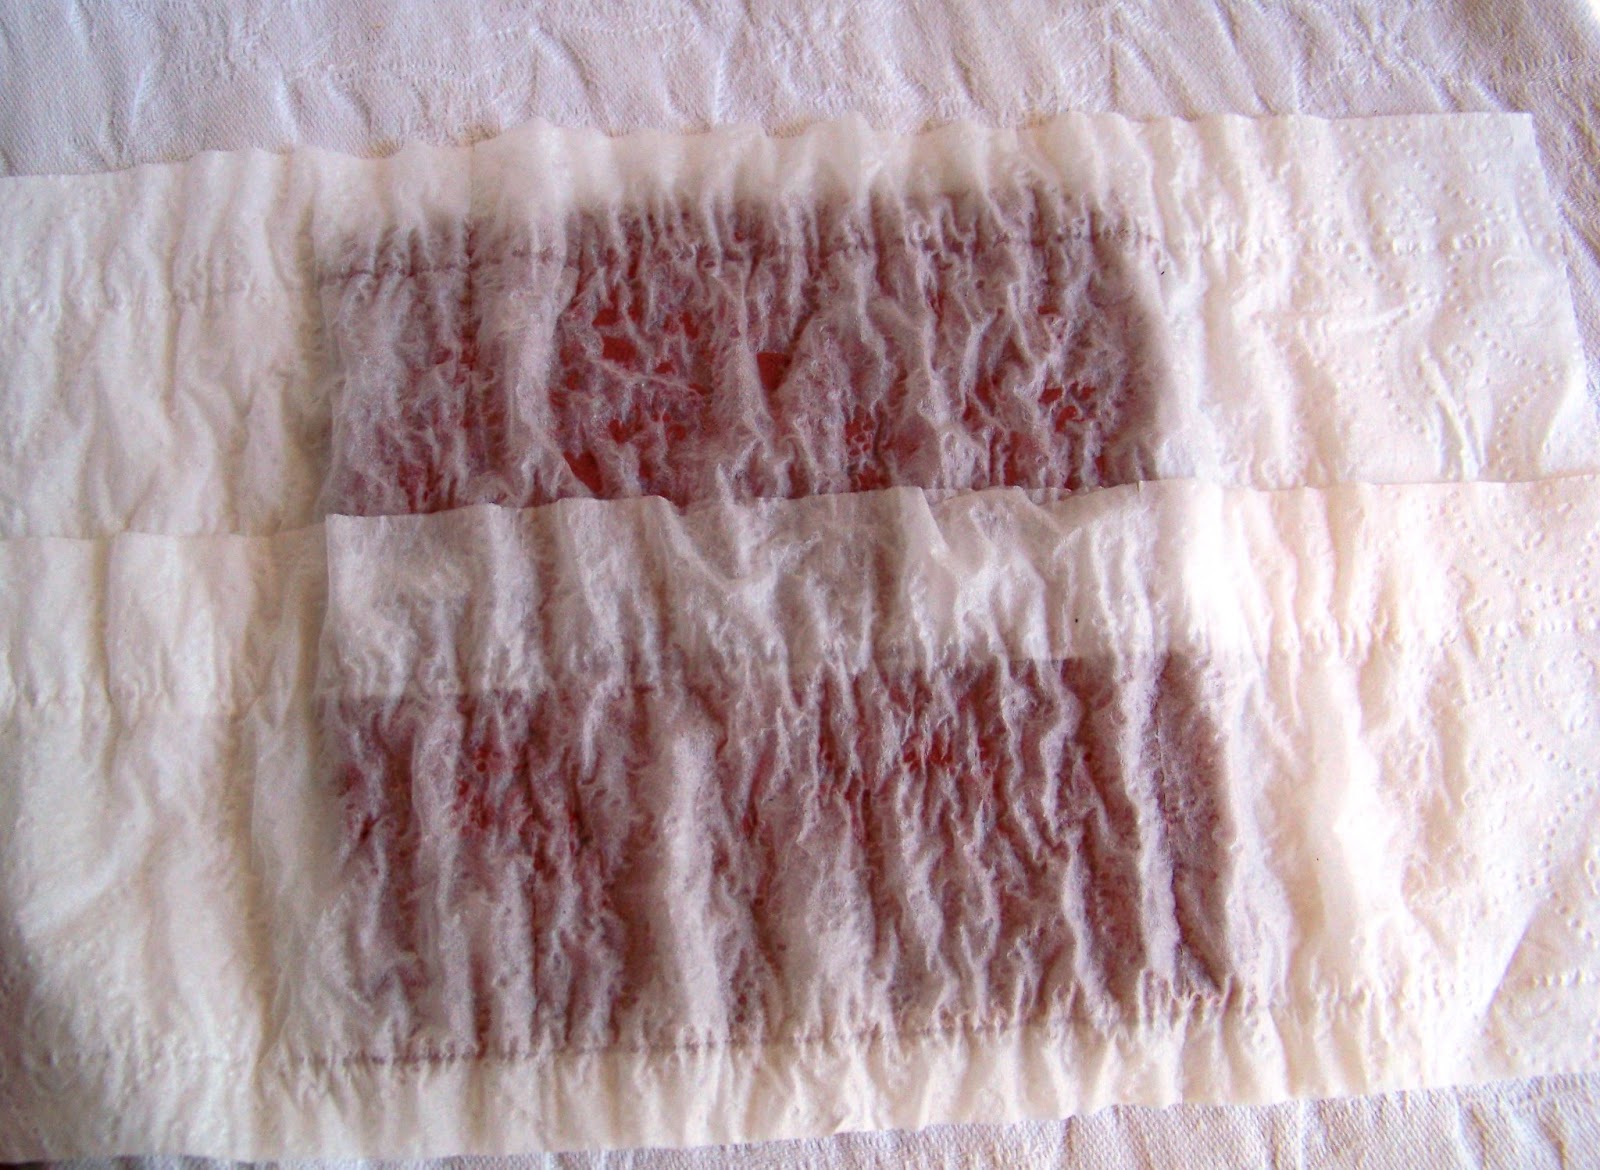
After you have added the water/gel mix run over it with a brayer. Not back and forth...only one direction!! Then continue with the layers in the exact same way: water, paper, mixture, brayer...I used 6 in all.

This is what it looks like when all 6 layers are down.

Now carefully peel up the entire paper piece off the stamp and flip it over...you will see the beautiful embossed image. Because the image is fully saturated now is the time to color it especially if the medium you are using is water soluble...like Dylusions Inks :-)

I sprayed the piece with 4 colors of Dylusions Ink: Fresh Lime, London Blue, Vibrant Turquoise, and After Midnight. The image looks very dark right now because it is saturated but when dry it lightens up quite a bit!!
It takes almost 48 hours for this to dry so I can not show you the final project but I have another piece done the same exact way with another stamp...

I added some embroidery, beads, and small mini flowers...look at the edges love the unfinished "ruffly" look. I am working on a fabric book or these pieces...stay tuned :-)

And here is the piece used in my mixed media piece entered into the eP challenge see it in the frame. I also used the extra pieces I cut off to fit it in the frame as part of the background.

I hope this inspires you to be creative and mix your love of the arts no matter which ones you enjoy the most :-)
Peace Out
17 comments:
Oh my giddy aunt your post today has me reaching for the toilet paper,I am in love with this technique Donna Marie..and you shared how to,wheeeee!!
You have blown me away today with your art work and I can't stop looking at it all and wishing I could reach out and touch it...stunning!!
Hugs
Tracy
Xxx
I'm with Tracy on this fantastic piece! Love the texture you've created with the toilet tissue, I really must try this out,. Your finished collage is gorgeous x
I can testify to how stunning this looks in person...it's simply amazing!! Beautiful, Donna Marie, thanks so much for sharing the step-by-step instructions!
Wow! This is really cool! I am gonna have to try this! Thanks for the tutorial! :)
Gorgeous work Donna Marie ! Beautiful colours and the texture is amazing ! Sue C x
Fantastic tute! Your art looks amazing! TFS!
Alison x
This is so fabulous! I must try this. Thanks for sharing.
Stunning stuff!
Alison x
This is awesome Donna Marie, I LOVE it! Great tutorial and it's on my to-do-list this week. TFS.
Oh wow, what a fab technique, and what a vibrant and lovely project,
Lucy x
wow, I had no idea and I love the end result. I have got to try this. Absolutely gorgeous.
Wow! This is amazing! And with toilet paper!! Love how you created it! Way over my head,but your finished piece is astounding! Well done!
Amazing technique and stunning results. Thanks for your tutorial.
Who would have thought a toilet paper can turn out into a masterpiece? I guess only an artist like you. It's good to learn new things. Thanks for sharing!
Clay Delgado @ WorldPackagingCo.com
Gorgeous, the ol dunny roll is so versatile 😊😉
What a creative and fascinating idea! I can't wait to try it! Thank you for posting!
Wow!!! This looks like loads of fun!!! I have loads of texture plates & embossing folders for my pewter work & want to go back to my papiermache work that I used to do many years ago. A combo with the metal embossing, beads & your loo paper ideas could be very interesting🤔.Thanks for the inspiration!! 😍❤ Xx Jo from Darling South Africa
Post a Comment