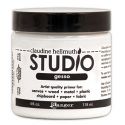
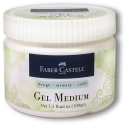
Hello everyone. Bonnie Irvine here today to share another two page spread in my altered dictionary. The letter I chose for today is G and the word I've highlighted is giraffe...because giraffes make me smile. I started by applying gesso to the two pages making sure to allow some of the text and all of the definition to show through. The two pages were then adhered to the pages next to them using Matte medium in order to give the pages enough strength to hold up to the mixed media techniques I knew were coming. Over the gesso, I scribbled some browns and yellows in the form of watercolour crayon which I spread with a wet brush. These colours were intensified with Gelatos: Butter Cream, Lemon, and Chocolate. A wet finger blended them into the crayon.

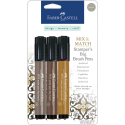
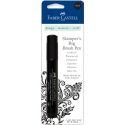
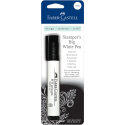
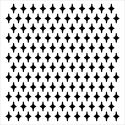
To add texture to the background, I randomly stamped Unity's Cooped Up Notes using Coffee Archival ink. More of the same ink and later Memento Peanut Brittle ink were sponged through TCW's Spinning Tops stencil using a make-up wedge. Walnut Brown Big Brush pen was used to darken the edges of both pages and then streaked across the pages in places. A wet brush was used over the ink to spread and soften it. A page of giraffe print paper from DCWV's Safari Chic stack was torn into chunks and then edged with the Walnut Big Brush pen. These were adhered to the background.
White gesso was pounced through TCW's Mini Punchinella stencil for contrast and to help imbed the giraffe paper into the background by stencilling over both at the same time. A burlap circle was cut and then split so that both halves could be adhered.
Another scrap was glued to the bottom right corner. I chose the burlap because I wanted more texture and natural materials. The burlap and the background were stamped using Coffee Archival ink and a leafy Dylusions branch from the Bits of This set. Again, I wanted texture but also to create a background suggesting the giraffe's natural habitat...leaves and all.

The adorable baby giraffe is from A Day For Daisies and was coloured with Prismacolor pencils. Glossy Accents was layered over the eyes for shine and dimension. Spiced Marmalade Distress Stickles was layered over the flower and bud. I wanted to create the effect that the wee giraffe had burst through the background page so I punched a hole with scissors and then tore the pieces back to enlarge it. They were glued in place and lined around with Black Big Brush pen. The giraffe's neck was placed through the opening popped up with foam dots and a black cardstock circle was adhered behind the hole. Then the little darlin' was given a seam binding bow.
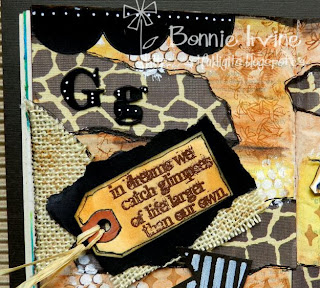
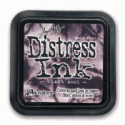
The sentiment, from TH Flights of Fancy set, was stamped onto a small manilla tag with Versamark ink and then embossed with copper powder which was heat set. More of the Peanut Brittle ink was sponged over the tag along with some doodling. Black Soot Distress ink darkened the tag's edges. It was then placed on a torn piee of black and a remnant of the burlap was adhered to the bottom edge before the whole element was popped up on foam dots. Using an MFT scallop die, black cardstock was cut and placed in three places along the edges of the pages. White dots were added to these borders as well as to the Gg letters which are Idea-ology Alpha Parts. The letters spelling Dream were stickers from my stash.
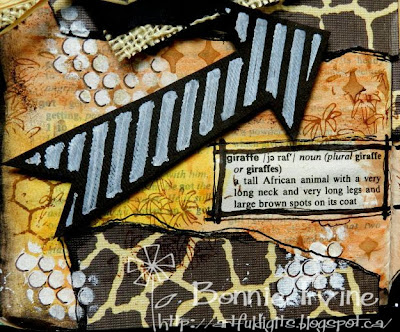
The final touches were the stencilled arrow and the stacked button, as well as lots more doodling. The arrow was stencilled onto dark brown cardstock using a white Big Brush pen and TCW's Mini Susana's arrows template. It was then fussy cut and popped up on foam dots.
The buttons are from my stash and tied together with raffia. Raffia was also used on the tag as a topper.
That's it for me today. I hope you get a chance to play and get messy soon. Thanks for joining us.
Bonnie
These are some of the products I used today which can be found in the
eclectic Paperie store:


