


Hello again, friends!
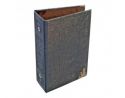
This is Linda back for my second Wednesday as guest designer for the month of June here at eclectic Paperie. I've created an album for family photos using an Idea-ology Worn Cover Memoir Book and the Prima Stationer's Desk 6x6 paper pad, and I'm anxious to show you how I did it.


I started by tearing the
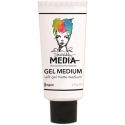
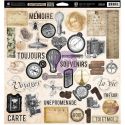
Stationer's Desk paper I wanted, inking the edges with Walnut Stain Distress Ink and adhering it down with gel medium.

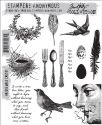
I gave the corners
a subtle stamping using Jet Black Archival ink and the flourish from the Tim Holtz Boundless Flight set... no stamping block.

Next, a few layers...
a journal spot from the SD paper pad as well as fussy-cut flowers, three chipboard pieces from the Prima Cartographer collection and a Petaloo Botanica gray bloom. Most of this is popped up with 3-D adhesive foam and everything except the bloom was sponged with Walnut Stain D I. I ran a file over the edges of the chipboard first so the ink soaks in a bit.

The letters were cut with
Alterations Vintage Market Decorative Strip die. I applied them with the gel medium then gave them a top coat for a little extra protection from wear (which I also did to the other papers on the cover.)
With my cover complete
I moved to the inside, and this is the point at which I wasted a lot of time. My original thought was to use Tim's binder assembly, but after I fastened it into the book, I realized that wasn't the look I wanted. I removed the binder, and went to my downstairs bookcase. I pulled out a stack of old paperbacks I didn't need and chose one that fit into the covers.

I tore the front and
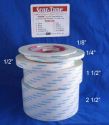
back covers off of the paperback and measured the spine. I cut a strip of kraft cardstock the same length minus an 1/8". The depth of my book was 3/4" wide so I cut the strip 3/4" plus a 1/4" for each side (score these at 1/4" and burnish)... total 1 1/4". (Your sizes will probably not be the same as mine... so be sure to measure.) I added Scor Tape to the center (only) of the back of the strip, then I covered the entire front of the strip. I remove the paper backing on just the back section and adhered it down in the center of the album covering the two holes.

I pulled off the paper backing
from the center Scor Tape strips and pressed in the spine of my paperback. One by one, I did the same to the two 1/4" sides.

Ah yes... this is so neat!

I covered the book
title with some of Tim's Tissue Tape, added more Vintage Market letters and pulled out Tim's Nature Walk stamp set and added that foliage cluster at the bottom. I had a full cup of McDonald's coffee on my desk, so I splashed a little on the page... lovely! Some Walnut Stain DI to the edges and on to the next.

I'm taping three pages
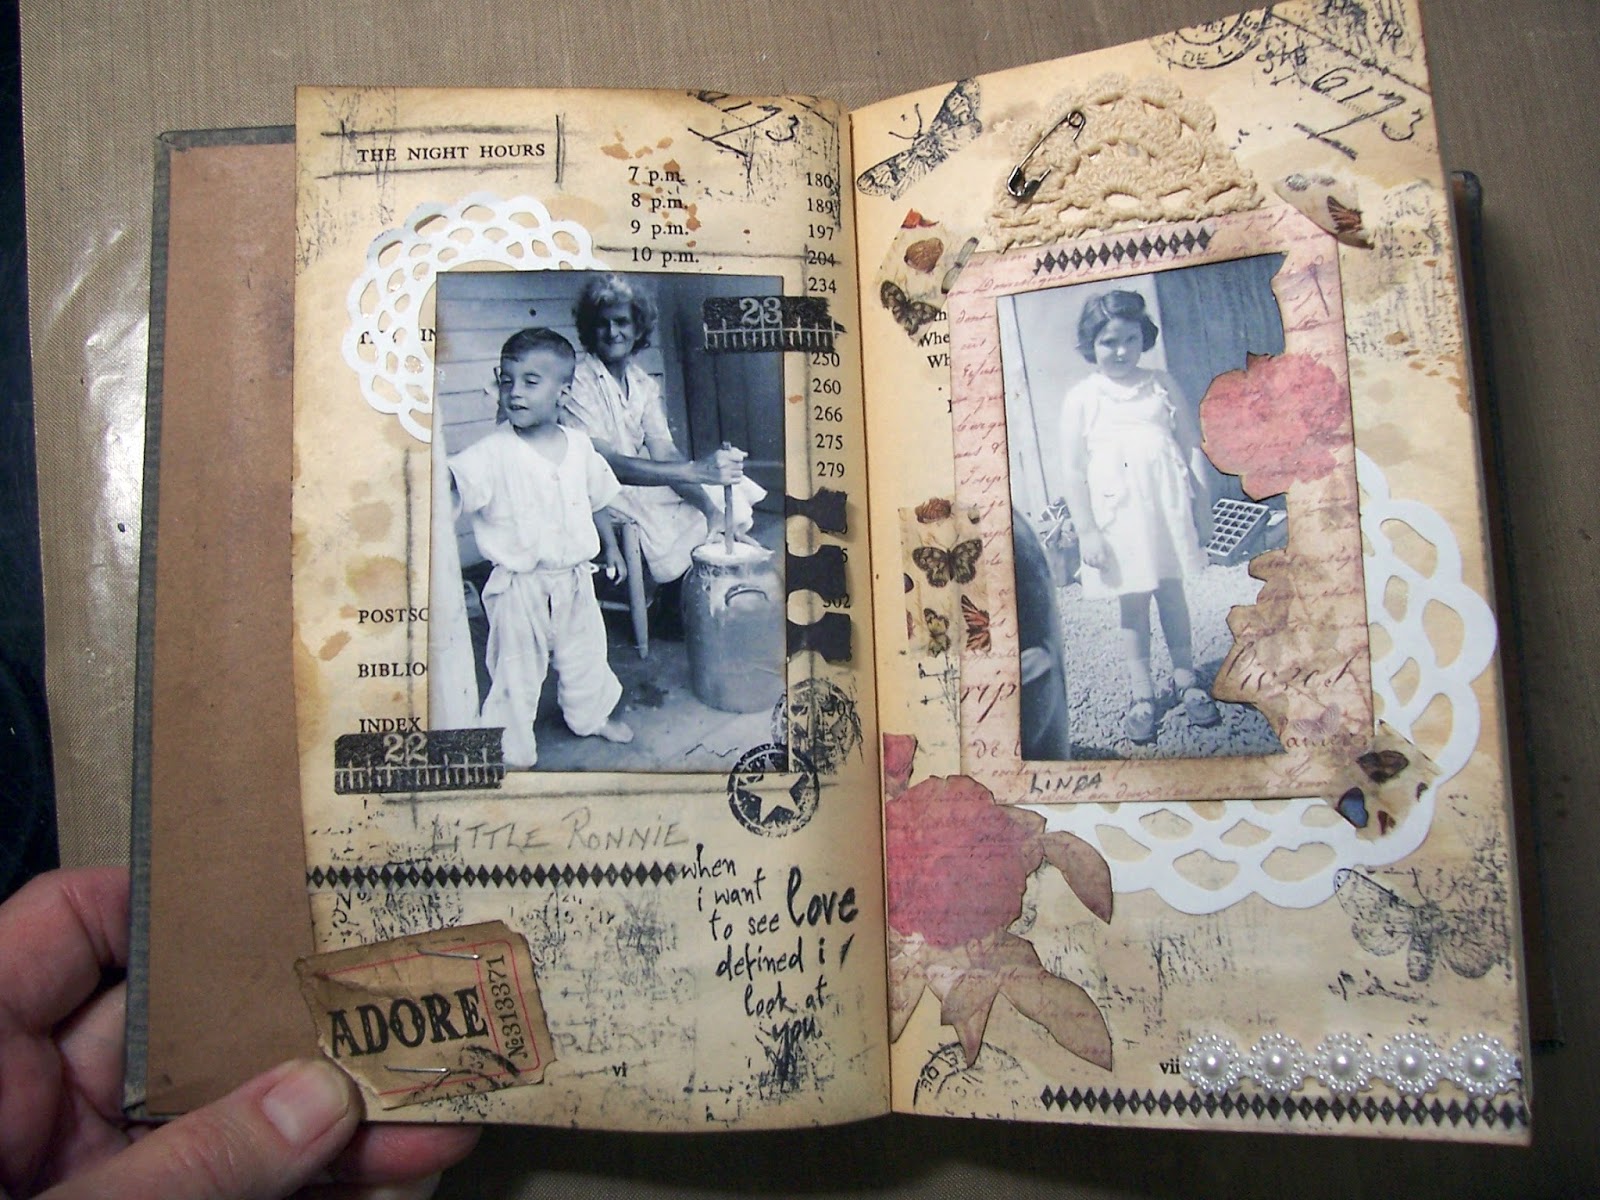
I won't go into detail
on these. I used the Stationer's Desk paper and some die-cuts and scraps of trims I had on my desk. My first two photos are in and I'm on my way.

I hope you like my
photo album and will try making one for yourself. Tim Holtz has several different cover styles and Kim has them in her store now. Be sure to check them all out.

Thanks for stopping by!
Linda
 |  |  |  |
 |  |  |  |
 |

6 comments:
Great project Linda!
What a wonderful book to keep your photos in Linda! love the look of it and the pieces/techniques you used on your cover... thanks for sharing all the details!
Love it,... that cover is fabulous !!
Really love this! Totally vintagely gorgeous !! X
Wow Linda, if you hadn't shown the how to pictures for the spine, I would have thought that's how the book came - with the papers already attached. This turned out beautiful and I love how you altered the covers. Not to mention that I love the inside with the memories. Awesome keepsake - to be treasured for years!.
Love how grungy and gorgeous this is! Great job.
Post a Comment