Photobucket Photobucket Photobucket Photobucket Photobucket Photobucket
Showing posts with label tissue tape. Show all posts

Saturday, May 10, 2014

12x12 Life

What can I say...I'm a 12x12 kinda gal. 

When things are not going right or I'm feeling like I need some crafty time...I reach for 12x12. 

I think we all have our own comfort zones and that is mine. 

So imagine how ecstatic I was when Kim started carrying different 12x12 papers in the store! We have Authentique and Fancypants and 7Dots and Tim Hotlz...

and I really could go on but you want to see some GORGEOUS crafty goodies don't you;)

If you have seen my work you know that I am over the top...lots of mixed media...more flowers than a gal can handle. But when I saw the Fancypants Nautical line, I was so inspired to do something clean and simple. I purchased some 12x12 in a couple of the patterns and went to town!! They were so much fun to create with!


I also used my new Tim Holtz Honeycomb die to create some layers behind the photo grouping. The tag is from the clearance section and is Fancypants as well but from a different line. I just adore the Junkyard Findings Street Signs and this one was perfect...because he is my 1st born!! Get it? 
*slaps her knee*
I liked the orange with the navy blue and teal (yes that is blue not black) so I grabbed a piece of orange paper from my stash to make my accents. 


I decided to stamp a tiny date stamp to document the time that this photo was taken. We don't have many every day type photos and this was just a spur of the moment "kids...get in the car...mamma wants pics" kinda deal. 

So needless to say my teenager was glad I was inspired to NOT use flowers this time.  


This LO was the inspiration for the one above:


Hard to believe this is the same child isn't it? Thus the title for the previous LO of "All Growed Up"

This was using the Authentique elegant line. Little bit of chip board photo frames
and some Prima masking...a little bling...some stamping...this was seriously a fun layout to create.

Here is a close up of the tissue tape and stamping.


And of course the BLING!!!! Oh so yummy!! And just adorable with the Prima Metal Door Sign


Don't forget our ePlay challenge is still going on this month with STENCILS!!!


You can check out all the details for these tags on my blog at www.scrappygoddess.blogspot.com.

Don't forget to enter for your chance to win.

{{hugs}}
Andiepants


Friday, September 27, 2013

Christmas lights with Authentique . . .

Woohooo Happy Friday everyone, Tracy here today with a little Christmas project . . .
GASP, SHOCK, HORROR
  . . . . shreeeek did I dare to say the " C " word???
 Yeahhhh,
I did and loving it tralalalalalala ...
sorry folks I couldn`t help myself!
But in my defence when the
Authentique Joyous 6x6 paper pad 
popped through my door from the eP Store . . .

  I couldn`t help but think of those long winter nights
when all is dark outside except the twinkling of streetlights and the stars up above
lights peeping through drawn curtains
the Christmas Tree standing proudly in place
decorated with old and new along with
gingerbread hearts tied with ruby red ribbon
snuggled on the couch watching Christmas movies
with a throw to keep us cosy . . . . .
 . . . what`s this I hear you cry . . .
Well, when you are all snuggled up in bed, on those dark and chilly nights 
 you are going to need a little . . . 
Lamp of course at the side of the bed!
I`ve had this little white lamp in my stash in the shed for ages just waiting for that little something.
Soooo, I gathered up a few supplies for the shade -
 . . .  just chop up the papers and fix in place with Gel Medium
followed by a few bits and bobs that I had in my box of goodies
Tim Holtz Adage Tickets
a few washers, buttons, ribbon,
 and for the top and bottom of the shade some
 Idea- ology Tissue Tape - Elements
 The tag was covered up using all the little bits of leftover paper from the shade,
a little wonky tonky stitching,a Smidge Of Distress Stain, a little stroke of Pan Pastel 
a quick dab with a clear Ink pad
and
a sprinkling of Cosmic Shimmer Embossing powder to finish!
Looking at the shade now, I do know that I will at some point give it the same treatment with the distress ink/ Pastels for a more aged look and add a little handstitching along the way to make it a bit more homey . . .it`s just now quite finished yet I feel.
I`ll pop on by and update when I have got a little messy with it!

Pssssst . . .  
I still have a stash of the pretty papers left and  at a later date will be showing you them in my
 December Daily Journal for this year, woohoo!

But for now
Thank you so much for taking the time to look
Till next time
Tracy
xoxox

Materials from the eP Shop -

Friday, June 7, 2013

Life Doesn't Have to be Perfect

Isn't this the best saying ever?!  I thought it was a great sentiment to go along with a photo of my two boys, who are always full of energy but also full of laughter, fun, and surprises.  Parenthood defintely isn't always perfect but there's no doubt that there is always something wonderful about each and every day!

On to the project!  Ever since Tim released these burlap panels, and since seeing some of his samples (which I also saw in person at a retailer show), I've wanted to create somethign similar.  I just love the look of the bright colors on the burlap background.  And they really stand out in person...love that combo of the soft and rough.
I started by stamping a sentiment, from the Way with Words stamp set, on a #8 manila tag (product links at the end of the post) and using Glossy Accents to attach the tag to the burlap panel.  One of the things I love about these panels is that there is a hard board behind the fabric so you're able to work right on the panel, applying pressure, with ease.

I then used a few pieces of tissue tape to make it look like it was holding the tag in place.  Next came Distress Paint!  I used a few different colors (love that Seedless Preserves) on the panels and just used my finger to rub the paint around.
Once the paint was dry I added my photo...in black and white, which is a good mix with all that color...and a bunch of embellishments (just random stuff that I had in my stash).  I finished with the sentiment and added a date.  A really fun project, which I enjoyed so much I want to make a whole bunch of panels to hang in my studio!!

Interested in making your own panel?  Join me for a class on June 18th, where we'll create this project!  Only $20 for the class and it includes all the materials needed to create this project...well....minus the photo.  **smile**

Enjoy!

Supply List:
6x8 Burlap Panel
Distress Paints
Way with Words
Tissue Tape
Manila Tags

Monday, February 25, 2013

Coasting along...

Hello everyone, Alison here.  I'm sharing a simple tutorial with you today, just to take you through how I built up the look of my coaster mini-book.  We know them as beermats here in the UK, but I'm working in translation, so "coasters" it is!


Really, this little book was intended to showcase the amazing Donna Downey stamps from Unity - both the hedgerow flowers and the fabulous sentiment sets.


I love these stamps and find them so inspiring, as well as very versatile.


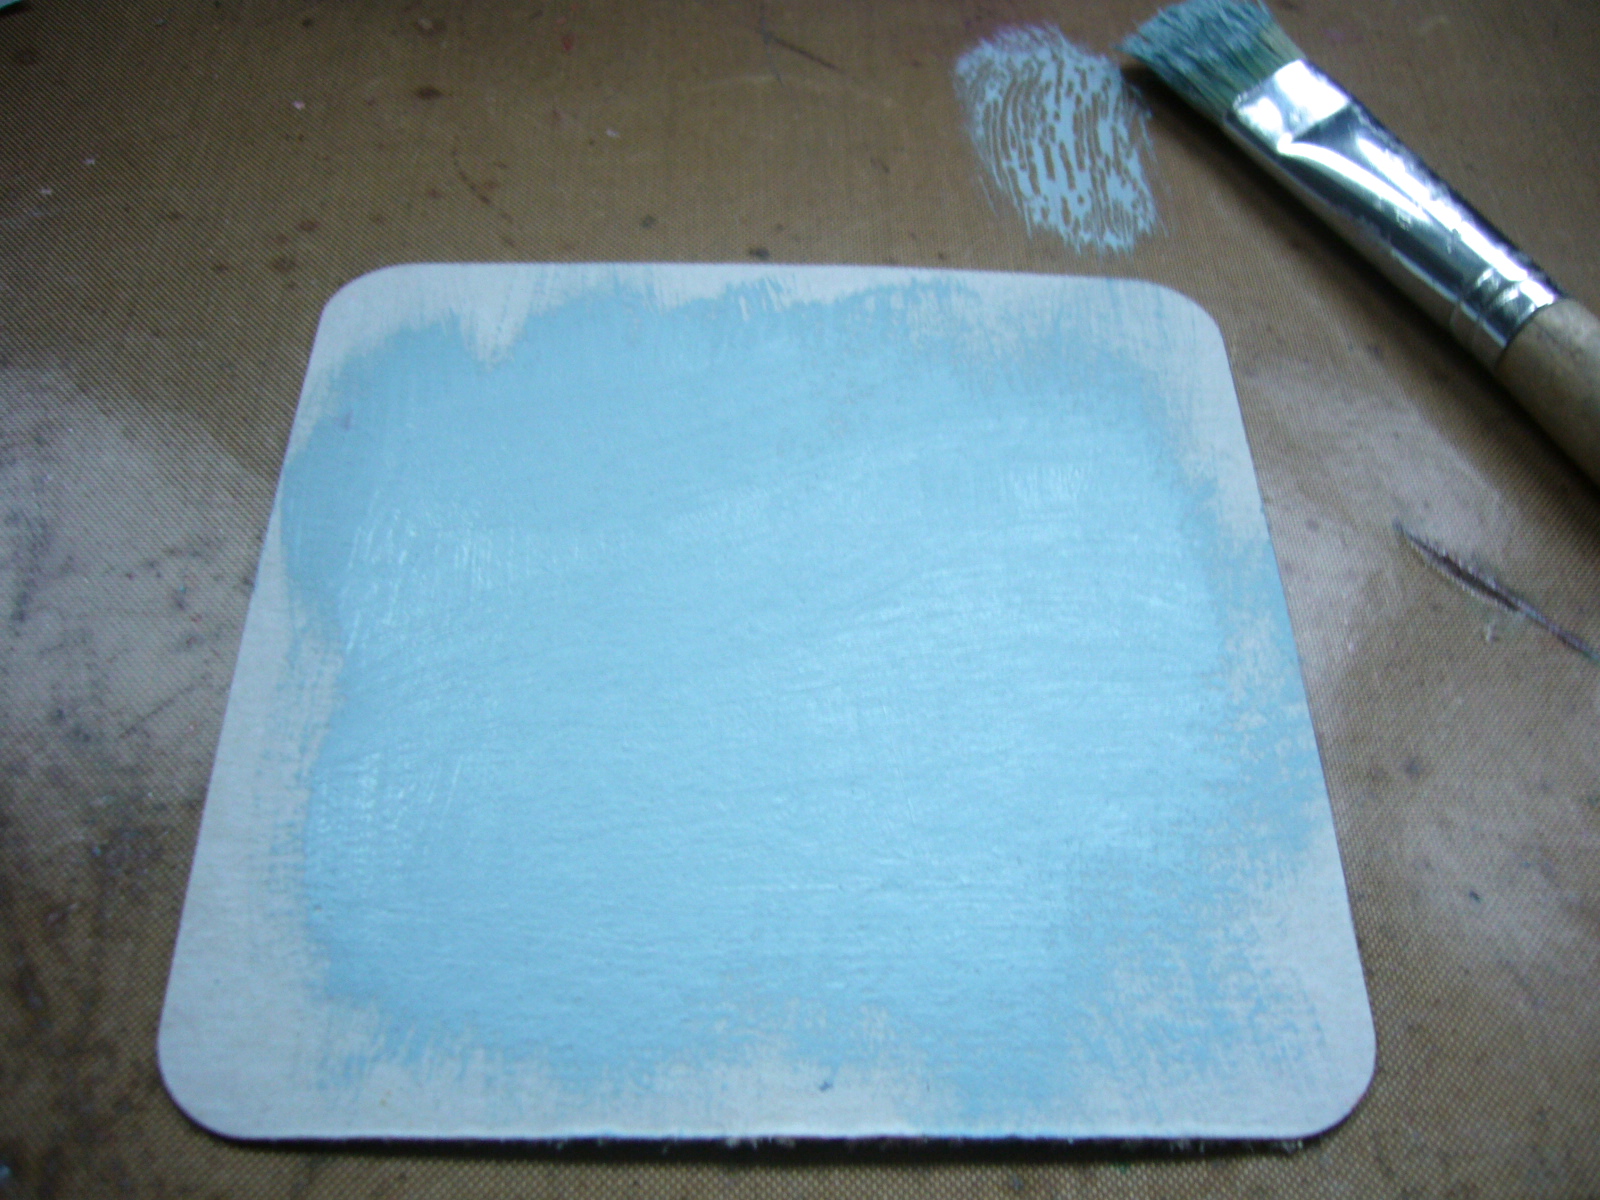
So I started with my bare coasters, and gave them a rough coat of pale blue acrylic paint.  I deliberately left bare spaces at the edges for a rustic look.  It also means there's variation in the textures of my "canvas".


The next step was to use a piece of card to add some rough strokes and lines in another colour.  I used a dark brown, and the idea was to create the look of meadow grasses, shifting in the wind.


The strokes are pretty random, and I made several "cuts" in a row so that there were different amounts of paint being applied for each blade of grass.


Now some stamping - yay!  The first of the hedgerow stamps - these are the Wayward Blooms - done in Memento Teal Zeal.  As you can see, the stamp is huge (so cool!), so these are all partial stampings.


 I added some extra interest using some Tim Holtz tissue tape from the Hobgoblin set.  If you tear it lengthwise, then stick it down with the two straight edges against one another, you get a nice interesting rough edge to it.


Now the next stamp - Delicate Flowers - this time done in Coffee Archival.  If you take a look at the finished album pages, you'll see that on opposite sides I alternated which colour each of the two flower stamps was done in.  A little variation within an overall design which was intended to be as simple and serene as possible.


Final step in the background layers was to use the white Inkssentials gel pen to highlight the blossoms of the Delicate Flowers.


Such a calming activity - you enter a kind of trance state just dotting them on.  And I think it really lifts the look of the whole page.


So then it was just a matter of layering the Donna Downey quotes - stamped in Coffee Archival, and edged with Vintage Photo DI - onto some dark brown cardstock, and working out where they looked best on each page.


I used sentiments from both the Empowered Words and the Art and Possibility sets, as I wanted each of them to include a "handwritten" word.


And however you define "Art", I have to say making this little book really did make me happy!  I hope you've enjoyed seeing some of the process.  Here's where to go if you'd like to see some more close-ups or any more making-of details.


Don't forget to check out the current challenge here at eP - we're looking for projects including Folded Paper of some kind.  All the details are here, and we'd love to have you play along.  Thanks so much for stopping by today, and see you again soon.

Click on the link to go straight to the product:

Saturday, October 13, 2012

Friend

A few nights ago I got crafty, I got inky, I got a tiny bit grungy, I played with Dylusions templates (I used Dotted Flowers on this tag) and I had so. much. fun!  It's been far too long since I created a tag and since I had all of my supplies spread all over the table I decided to go for it!
I created a short video showing how I created the base for the tag, which you can view at the bottom of today's post.

And then I got to work on what to add to the tag.  I opted to fill a pocket with some Tissue Tape flowers.  (Love making these flowers with tissue tape; you can view a video by Tim Holtz on how to create these here.)  Once my flowers were created I added buttons from the Fanciful Accoutrements collection (snip the shanks off the back of the buttons using Kushgrip scissors so the buttons lay flat on the flower).  The stems were created using a border stamp from the Further Around the Edge stamp set from Dylusions.  (Love her border sets!)  The pocket was created by stamping the pocket image from A Pocketful stamp set, from Wplus9, on to sticky back canvas.  I used the coordinating die to cut out the pocket.  I then layered the sentiment over the pocket using foam tape.  I added the sentiment, created by using a variety of stamps from the Pocketful set, last along with some ribbon. 

And now here's the short video on how I created the base of the tag.  You can use these same techniques on any tag, using a variety of stamps, inks, and stencils.  Then you just need to add your decoration!!  Fun times!!  Enjoy!

Tuesday, September 25, 2012

Product Spotlight: Idea-ology Tissue Tape

This week I set out to record a video where I demonstrate a technique I learned at a Tim Holtz class I attended earlier in the year. During the class we created a large mural project, using a variety of products and techniques. I wanted to break down just one of the techniques we learned, using tissue tape, and create a design element that could be used on a card. Tissue tape is such a fun product and I loved this torn and distressed technique.  And now you can see the video, which is now...live in the eClassroom! Head on over and check it out...

Today's card features great paper from Authentique (this is from the Enchanted line), that wonderful tissue tape, and a darling image from Sweet Stamp Shop.

So...in honor of my first video being live...I'm offering a huge sale on Idea-ology tissue tape this week!  Purchase two Distress Inks, because Distress Inks are perfect for adding color to tissue tape, and receive any of our tissue tape packages for only $4.00! That's more than a 50% savings!! We have three tissue tape packages in stock:
Commute
Hobgoblin (perfect for those Halloween projects)
Symphony

Be sure to use code TAPE12 when checking out to receive this discount! Only one bundle per order please! This offer is good until October 2, 2012. Enjoy!