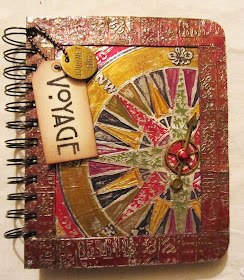
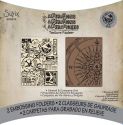
Hi everyone, Toni here to share project I've been working on. The promise of summer holidays on the not too distant horizon, has got me thinking. I always like to take a sketch book with me when I go away and have a little dabble with my pens and paints. The variety of journals and 'smash' books with all their pockets and different papers has made my plain old sketch book seem a little uninspiring so I've decided to make myself something a bit more interesting. I've used Tim Holtz's 'enamelled metals' technique for the cover and the pages are made from off cuts of paper. I've made it nice and thick with different weights of paper and card, so that can stick bits in, draw, paint or write to my heart's content. I started off by embossing some metal foil tape using the Compass embossing folder from the Alterations Airmail and Compass Set. I attached this to a piece of card, this is how it looked.
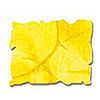
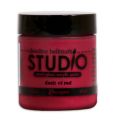
I then painted it with a variety of Distress Paints and left it to dry completely. It looks a bit messy at this stage, but fear not! The magic happens when you start to sand it.
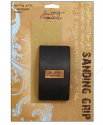
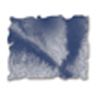
Using a sanding grip, I lightly sanded the surface removing some of the paint from the raised pattern. I really like this part, as it starts to come to life.
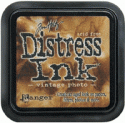
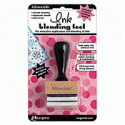
The next stage involves going over the surface with a blending tool and distress ink. I've used a mixture of Vintage Photo and Walnut stain. I then heat embossed it with clear embossing powder.
I cut a frame from a separate piece of card and used the same enamelled metal technique but this time using the 'ledger' Texture Fades embossing folder and just two colours. I treated the back cover in the same way.
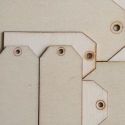
I've used my 'Bind it all' machine to assemble the journal and added a couple of embellishments. I particularly like the little wooden tag. Kim sent me these Maya Road tags in my DT package and I've been itching to use them. Although I've stamped the inside front and back covers, I want to do a bit of stamping and embellishing inside the journal before I use.
So roll on summer.......... now where did I put those holiday brochures..........x
Here's a list of supplies I've used available from the lovely eP store which you can find here.
 >
>








Your cover is amazing. I've tried this technique before but it didn't turn out like this. I really like the colors you used and the way the you blended with inks to tone the paint colors. Thanks for all the step by step photos. I will have to give this technique a try again.
ReplyDeleteWhat a stunning cover, Toni! Love it!!
ReplyDeleteThud...the way my head hitting the floor, after falling out of my chair...this is amazing, Toni! I need to make one for myself...it's stunning!
ReplyDeleteWhat a stunning cover, Toni! Love it!!
ReplyDeleteToni this is amazing! I love how the brightness got perfectly grungy with the addition of the darker stains and embossing. Really cool technique - thanks for sharing!
ReplyDeleteI have been waiting to do something else with my metal pieces...this is it!!!
ReplyDeleteLove the painting and embossing idea :-)
Sooo fab cool :-)
Gorgeous note book Toni, such rich colours. Sue C x
ReplyDeleteBeyond cool, Toni - what a fantastic piece of work!!
ReplyDeleteAlison x
An absolutely stunning creation Toni! Hugs, Anne x
ReplyDeleteThis is superb Toni. You scared me with your colour choices but when the DI's and clear EP were applied it was such a transformation. Love it to bits, hugs Jenny x
ReplyDeleteWhat an AWESOME cover, Toni!!! I love the step by step process too! SO amazing!!!
ReplyDeleteOh my giddy aunt Toni.. that cover is gorrrgeous wowowowow..jaw hanging open here in Scotland!!!
ReplyDeleteBig hugs
Tracy
xoxox